Sometimes you’re on the road and you just need your own secure, web-accessible desktop. It happens!
This guide will show you how to set up an Ubuntu 22.04 EC2 instance running a VNC server and the amazing noVNC proxy, which allows you to access your VNC session through a web browser (on any port of your choosing). It even lets you encrypt your session with an SSL certificate!
Let’s dive in.
Initial setup Link to heading
I’ll assume you know how to create a VPC, set up a Security Group, and launch an EC2 instance with Ubuntu 22.04. Make sure you set your instance up with a public IP, we’ll need that later to test noVNC.
Done? Great! Let’s get started installing all the tools we need.
Running updates Link to heading
Of course it’s always a good idea to update Ubuntu, so we’ll do that first:
sudo apt-get update
sudo apt-get -y upgrade
Installing a desktop environment Link to heading
The next thing we need to do is install a desktop environment. We will set things up for a single user on a single display, so we can skip installing a heavy display manager like gdm. Instead, let’s just install the nice, lightweight XFCE desktop environment:
sudo apt-get install -y xfce4 xfce4-goodies
Installing a VNC server Link to heading
We will need a VNC server too, so let’s grab that next:
sudo apt-get install -y tightvncserver
We will need to run VNC server once in order to set a logon password, so let’s do that now:
vncserver
The process looks something like this (note that I chose not to create a view-only password, as I won’t be sharing my VNC sessions with anyone else):
ubuntu@ip-172-31-28-185:~$ vncserver

You will require a password to access your desktops.

Password:
Warning: password truncated to the length of 8.
Verify:
Would you like to enter a view-only password (y/n)? n
xauth:  file /home/ubuntu/.Xauthority does not exist

New 'X' desktop is ip-172-31-28-185:1

Creating default startup script /home/ubuntu/.vnc/xstartup
Starting applications specified in /home/ubuntu/.vnc/xstartup
Log file is /home/ubuntu/.vnc/ip-172-31-28-185:1.log
Updating your xstartup file
Link to heading
The default xstartup file won’t run XFCE when the vncserver starts, so we need to fix that. Let’s first back up the existing file:
cd .vnc
cp xstartup xstartup.bak
Open up the xstartup file in your favorite text editor (I like vim):
vim xstartup
Note: I’m still insice the .vnc directory at this point.
Now, **clear out the existing contents of the file, and paste in the three lines below:
#!/bin/bash
xrdb $HOME/Xresources
startxfce4 &
Great! This should cause XFCE to start up whenever our VNC server starts.
Installing noVNC Link to heading
We will need the noVNC proxy to enable us to access VNC via a web browser. The best way to get noVNC is directly from the noVNC GitHub repository and not via Ubuntu’s package manager. Let’s return to the ubuntu user’s home directory before fetching the repo:
cd ~/
git clone https://github.com/novnc/noVNC.git
We need to create a new self-signed certificate inside the noVNC folder so that we can connect over HTTPS:
cd noVNC
openssl req -new -x509 -days 365 -nodes -out self.pem -keyout self.pem
Note that there will be some fields which openssl expects you to fill in, but we can safely ignore these because we’re not generating a genuine public SSL certification that we will share with others…this is just for us! Here’s what the output of the openssl command (above) typcially looks like:
ubuntu@ip-172-31-28-185:~/noVNC$ openssl req -new -x509 -days 365 -nodes -out self.pem -keyout self.pem
..........+......+......+.....+...............+.......+...+..+...+.......+++++++++++++++++++++++++++++++++++++++++++++++++++++++++++++++++*...+..+...+...+.+...+......+..+...+....+..+......+....+.........+.....+....+...+..+.............+...+...............+.....+.+.....+...+...+....+......+.....+.......+.....+...+............+...+...+.+...........+.......+...........+......+.+...+..+...+....+..+.+.....+.......+...+...+..+...+....+...+............+.....+...+...+++++++++++++++++++++++++++++++++++++++++++++++++++++++++++++++++*.........................+.+......+..+...+....+......+.....+.......+...+..+................+..+..........+..+...+.........+...+.......+......+..+.+.....+.+......+.........+...........+.......+....................+.+............+..+.+...........+...+.+......+...........+...+.........+...+...........................+.......+...+......+............+.....+...+....+..+.+........+.+.....+.+.....+...+....+..+...+......+......+.........+.........+.+.........+..+....+..+....+....................+.+..............+......+...+.+...+.....+............+.+.....+.......+..+.+...+..+....+...+..+....+..+...+..........+...............+.....+.+........+.+...........+......+...+....+......+.....+......+..........+...+.....+..........+...+............+..+...+.+.....+..........+.................+.......+..+.+...+...........+.....................+....+...+...+.........+...+..+.........+......+.+..+...+...+......+......+.............+..+..........+...+.........+...........+.+......+..+......+....+.....+.+......+.........+..+...+.......+..+............+.+...+.....+....+..+...+.+.........+..+....+..+...+.+...+............+...+.....+.+.....+.........+...+.......+...+.....+.........+....+.....+.....................+...+.......+.........+..+.........+.+..+......+...............................+......+..................+...........+..........+...+............+...+....................+.+.....+.+..............+.+..................+.....+.+..+....+........+...+............+..........+............+......+..+.+..+....+...+.....+......+.+.........+.........+........+.......+..+...+.......+++++++++++++++++++++++++++++++++++++++++++++++++++++++++++++++++
...+.+........+.......+..+.+..+............+++++++++++++++++++++++++++++++++++++++++++++++++++++++++++++++++*...+....+...........+.......+...+..+...+...+....+..+.........+.+.....+.+..+.+.....+.+.....+.+....................+...+..........+......+...............+...+++++++++++++++++++++++++++++++++++++++++++++++++++++++++++++++++*....+.........+............+..+...+...+....+..+....+......+.....+...+.......+...+..+.+.............................+...+...+.......+..+....+.....+.+........+.+.....+...............+......+....+......+...........+....+..................+......+..+...............+...+.+...........+....+........+......+......+.........+.+...+..+......+...+.+...+..+.........+....+..+.............+.....+.............+...+......+++++++++++++++++++++++++++++++++++++++++++++++++++++++++++++++++
-----
You are about to be asked to enter information that will be incorporated
into your certificate request.
What you are about to enter is what is called a Distinguished Name or a DN.
There are quite a few fields but you can leave some blank
For some fields there will be a default value,
If you enter '.', the field will be left blank.
-----
Country Name (2 letter code) [AU]:
State or Province Name (full name) [Some-State]:
Locality Name (eg, city) []:
Organization Name (eg, company) [Internet Widgits Pty Ltd]:
Organizational Unit Name (eg, section) []:
Common Name (e.g. server FQDN or YOUR name) []:
Email Address []:
Making it easy to use Link to heading
We are almost done, but we need a nice way to start up noVNC and tell it which port and IP address to listen on. To do that, we will create a script called start.sh which will do a few things for us:
- Start our vncserver on display 1 (port 5901)
- Start noVNC and tell it to forward traffic for port 8443 to port 5901
- Wait until the startup script is killed (with Ctrl+C) and then kill the vnc server
Why use 8443? Because it’s a high port number, we don’t need to be root to use it.
This will make it easy to run VNC from within a screen session. Yes, it’s not as nice as having VNC run as a system service at startup, but you might not always want a desktop environment!
Here’s the script:
#!/bin/bash
IP=$(curl -s http://169.254.169.254/latest/meta-data/public-ipv4)
echo "Connect with https://$IP:8443/vnc.html?host=$IP&port=8443"
vncserver :1
~/noVNC/utils/novnc_proxy --vnc localhost:5901 --listen 8443
vncserver -kill :1
Save the script in your home directory, and then run:
chmod u+x start.sh
Now, anytime you want to fire up a VNC session, simply run:
screen
./start.sh
You’ll see some output like this:
ubuntu@ip-172-31-28-185:~$ ./start.sh
Connect with https://54.86.231.48:8443/vnc.html?host=54.86.231.48&port=8443

New 'X' desktop is ip-172-31-28-185:1

Starting applications specified in /home/ubuntu/.vnc/xstartup
Log file is /home/ubuntu/.vnc/ip-172-31-28-185:1.log

Using local websockify at /home/ubuntu/noVNC/utils/websockify/run
Starting webserver and WebSockets proxy on port 8443
/home/ubuntu/noVNC/utils/websockify/websockify/websocket.py:31: UserWarning: no 'numpy' module, HyBi protocol will be slower
  warnings.warn("no 'numpy' module, HyBi protocol will be slower")
WebSocket server settings:
  - Listen on :8443
  - Web server. Web root: /home/ubuntu/noVNC
  - SSL/TLS support
  - proxying from :8443 to localhost:5901


Navigate to this URL:

    http://ip-172-31-28-185:8443/vnc.html?host=ip-172-31-28-185&port=8443

Press Ctrl-C to exit
Ignore the line at the bottom. vncserver and noVNC are not aware of the EC2 instance’s public IP, so they try to auto-generate a sign-on URL that uses the private IP. This won’t work. Instead, use the URL from the beginning of the script’s output, that starts with “Connect with”.
In both EC2 Instance Connect and local SSH sessions, you should be able to left click or Ctrl+Click on that URL to open it directly in a browser.
What it all looks like Link to heading
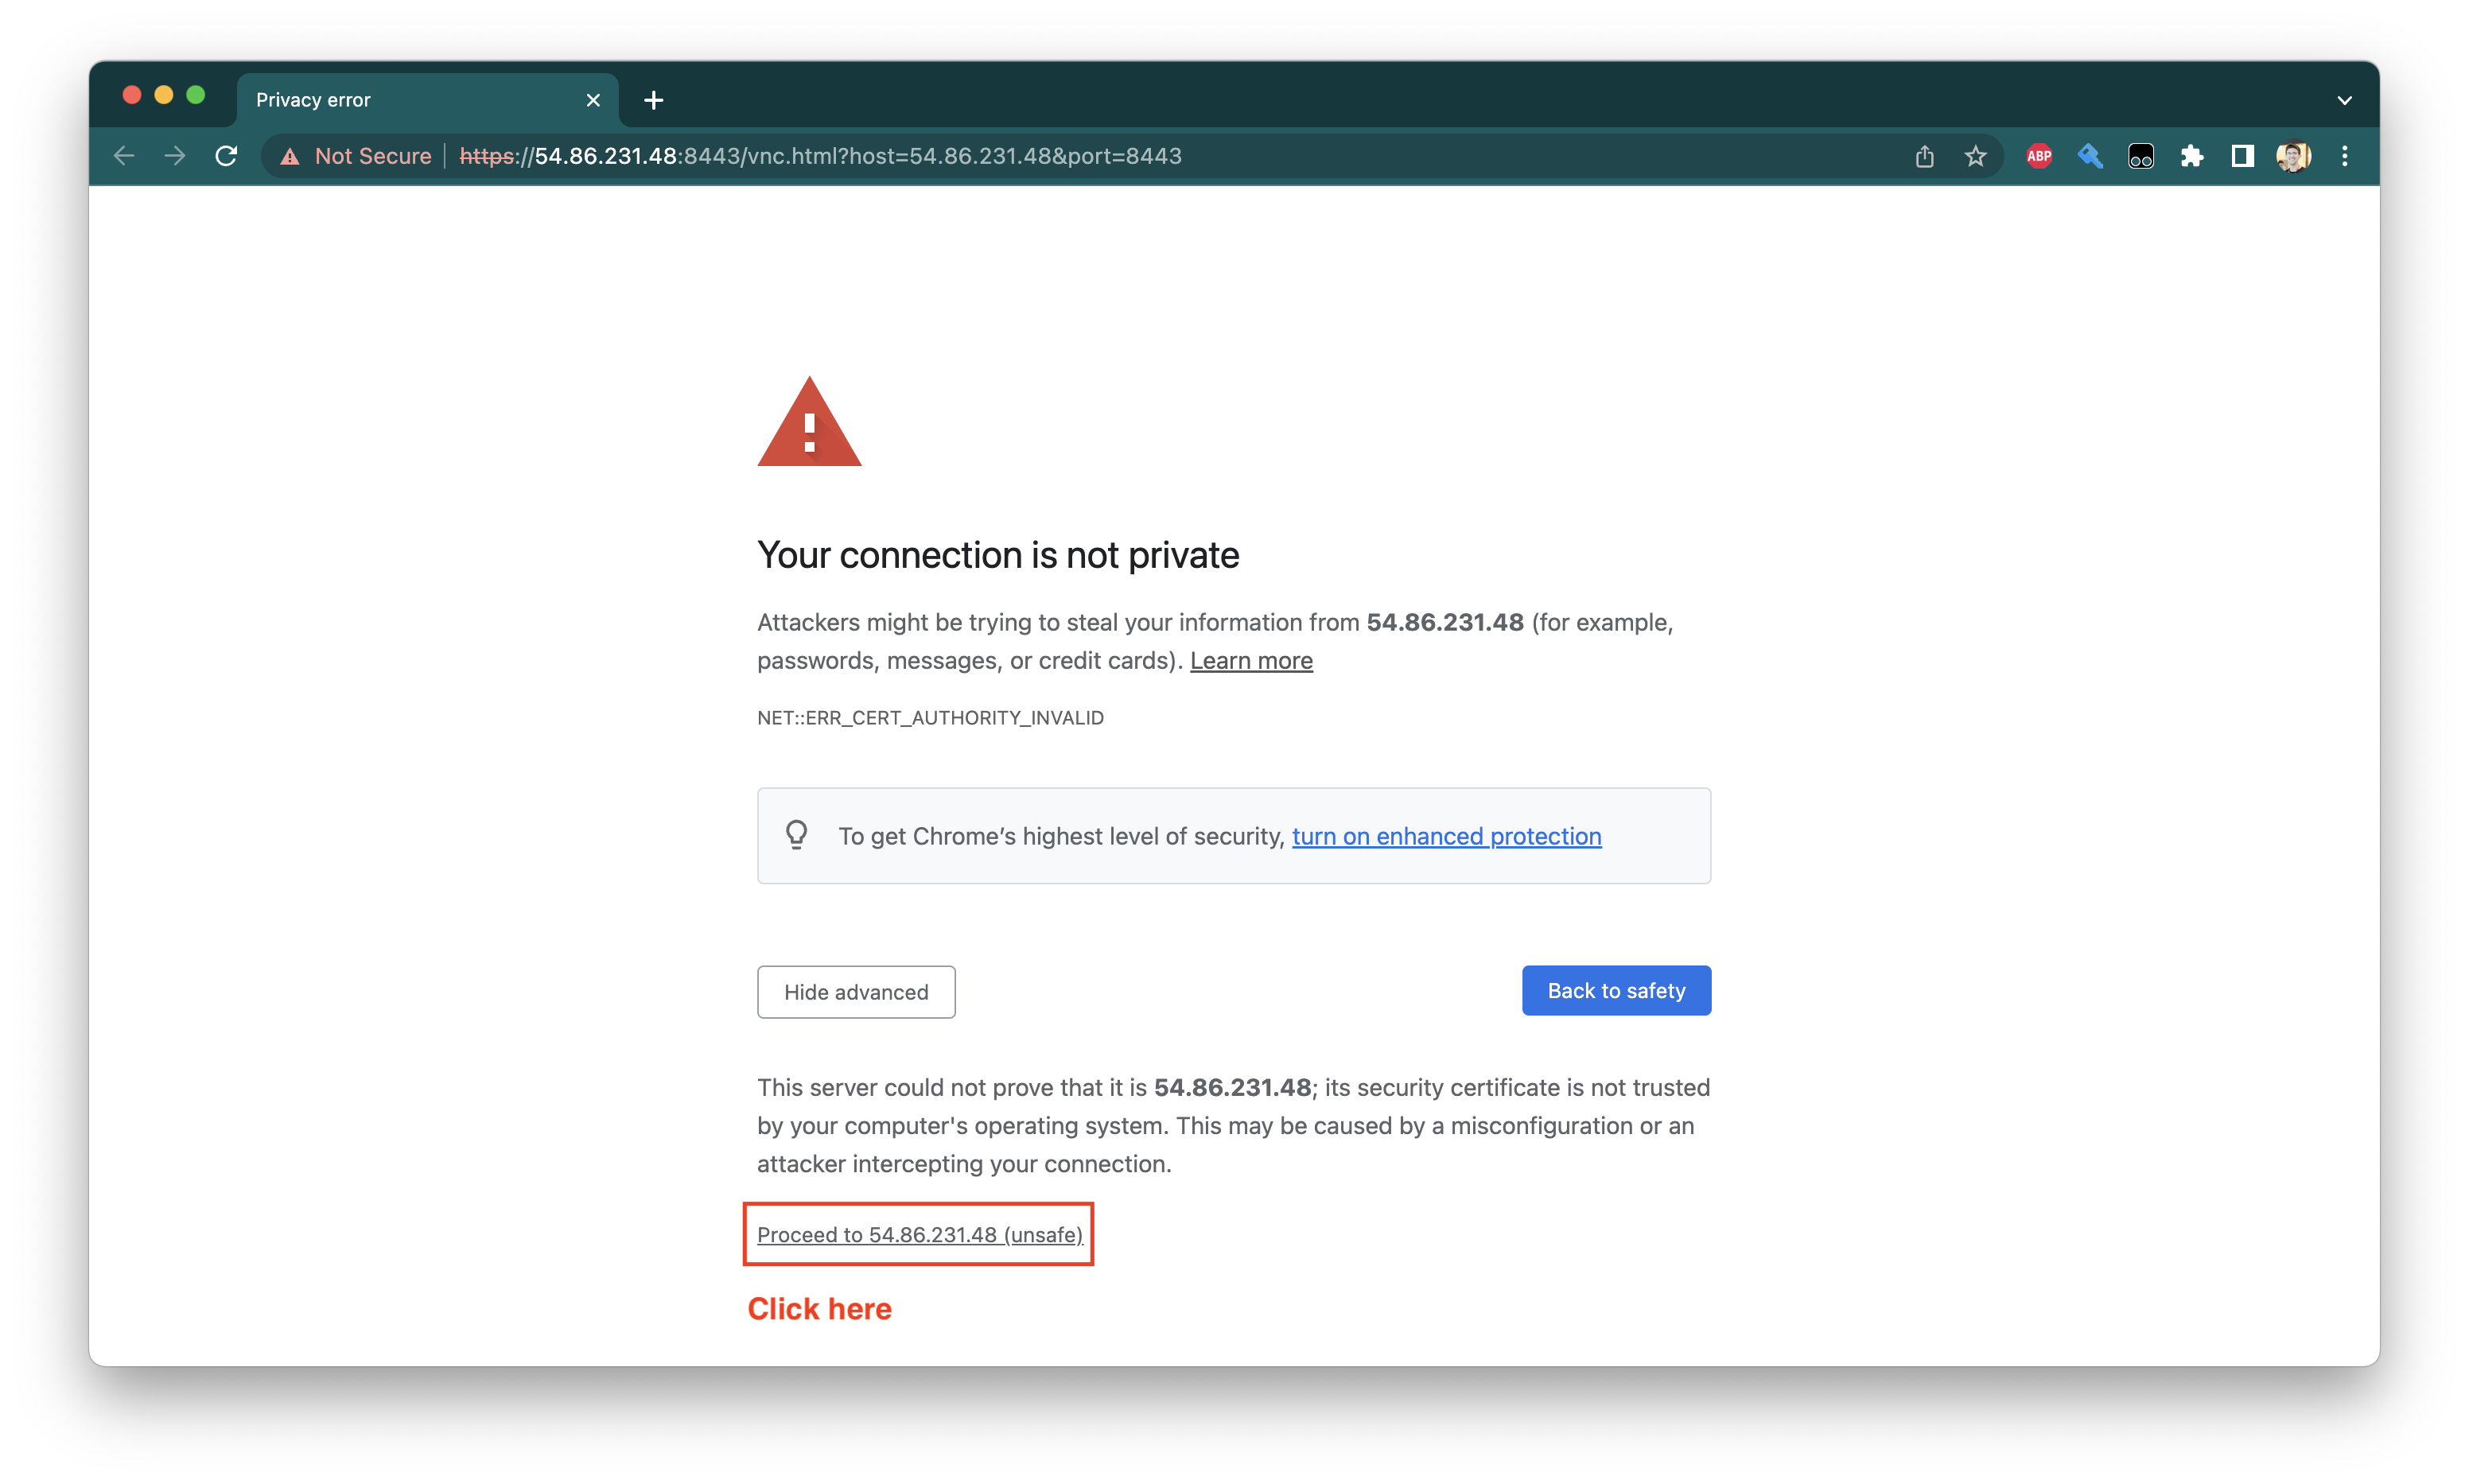
Of course we are using a self-signed certificate, so we will get some warnings when we try and visit the VNC session. Here’s what it looks like from Google Chrome:
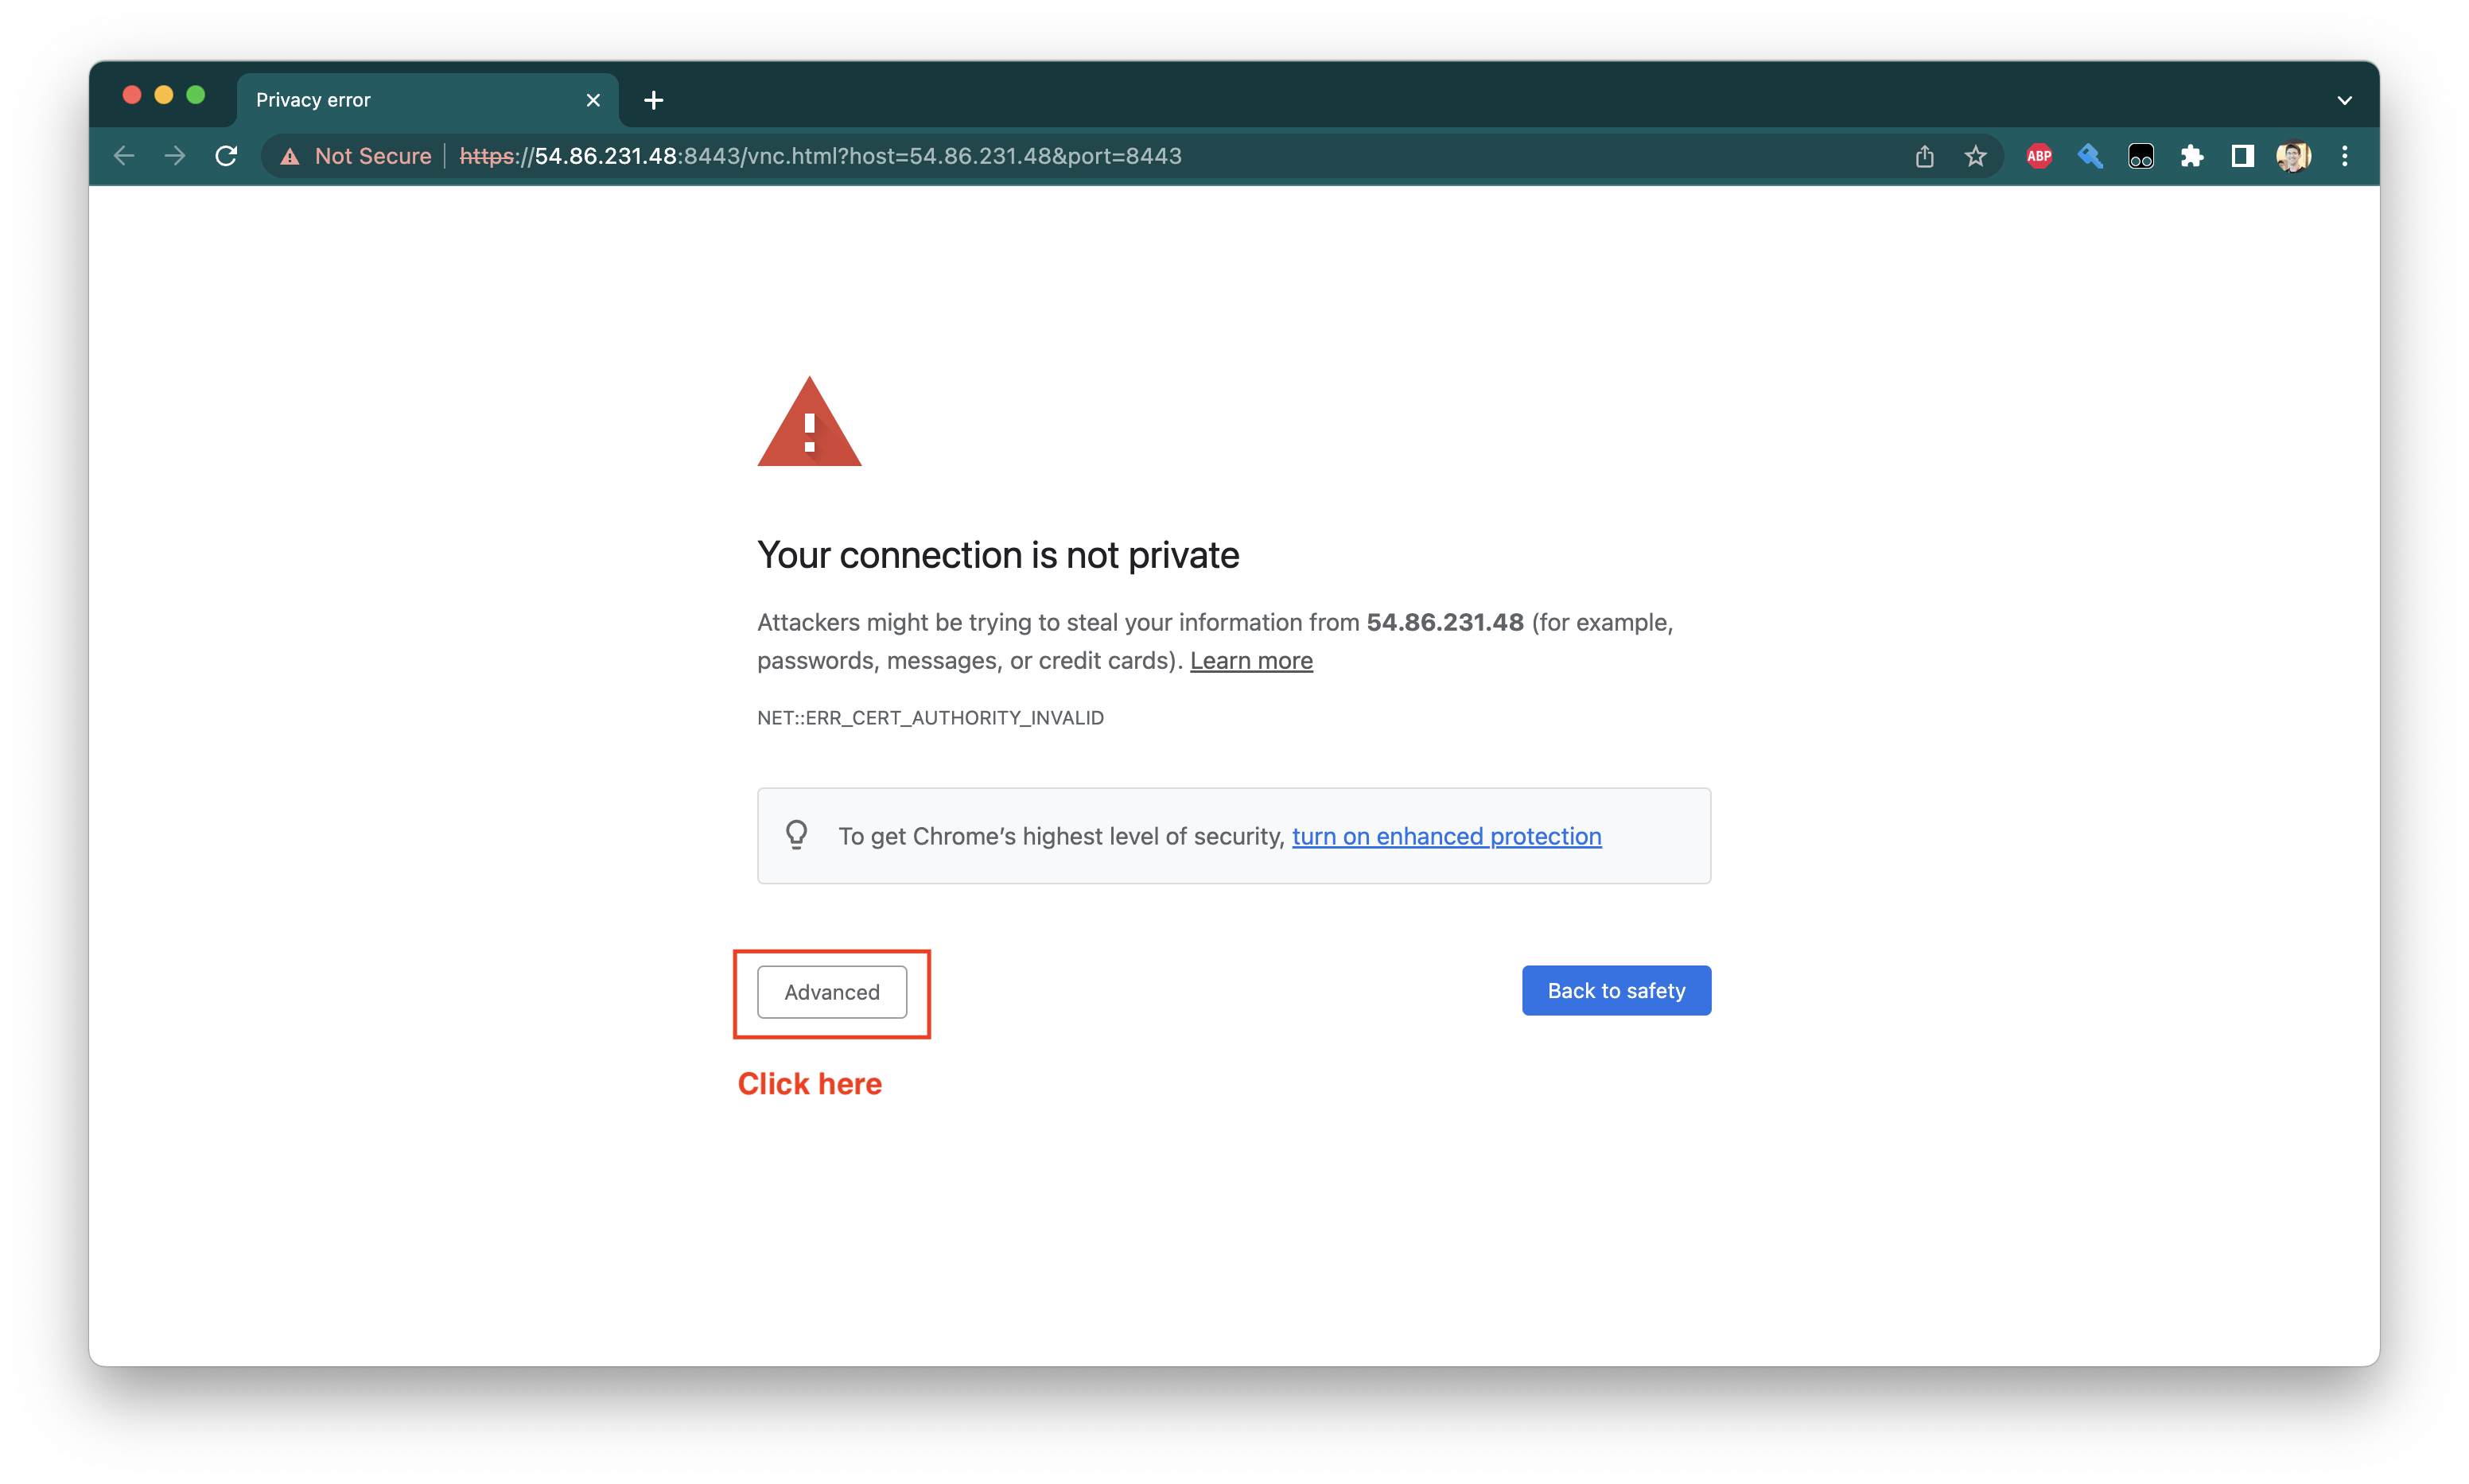
We can simply bypass the warnings by letting Chome know that - yes - we really do know what we are doing:
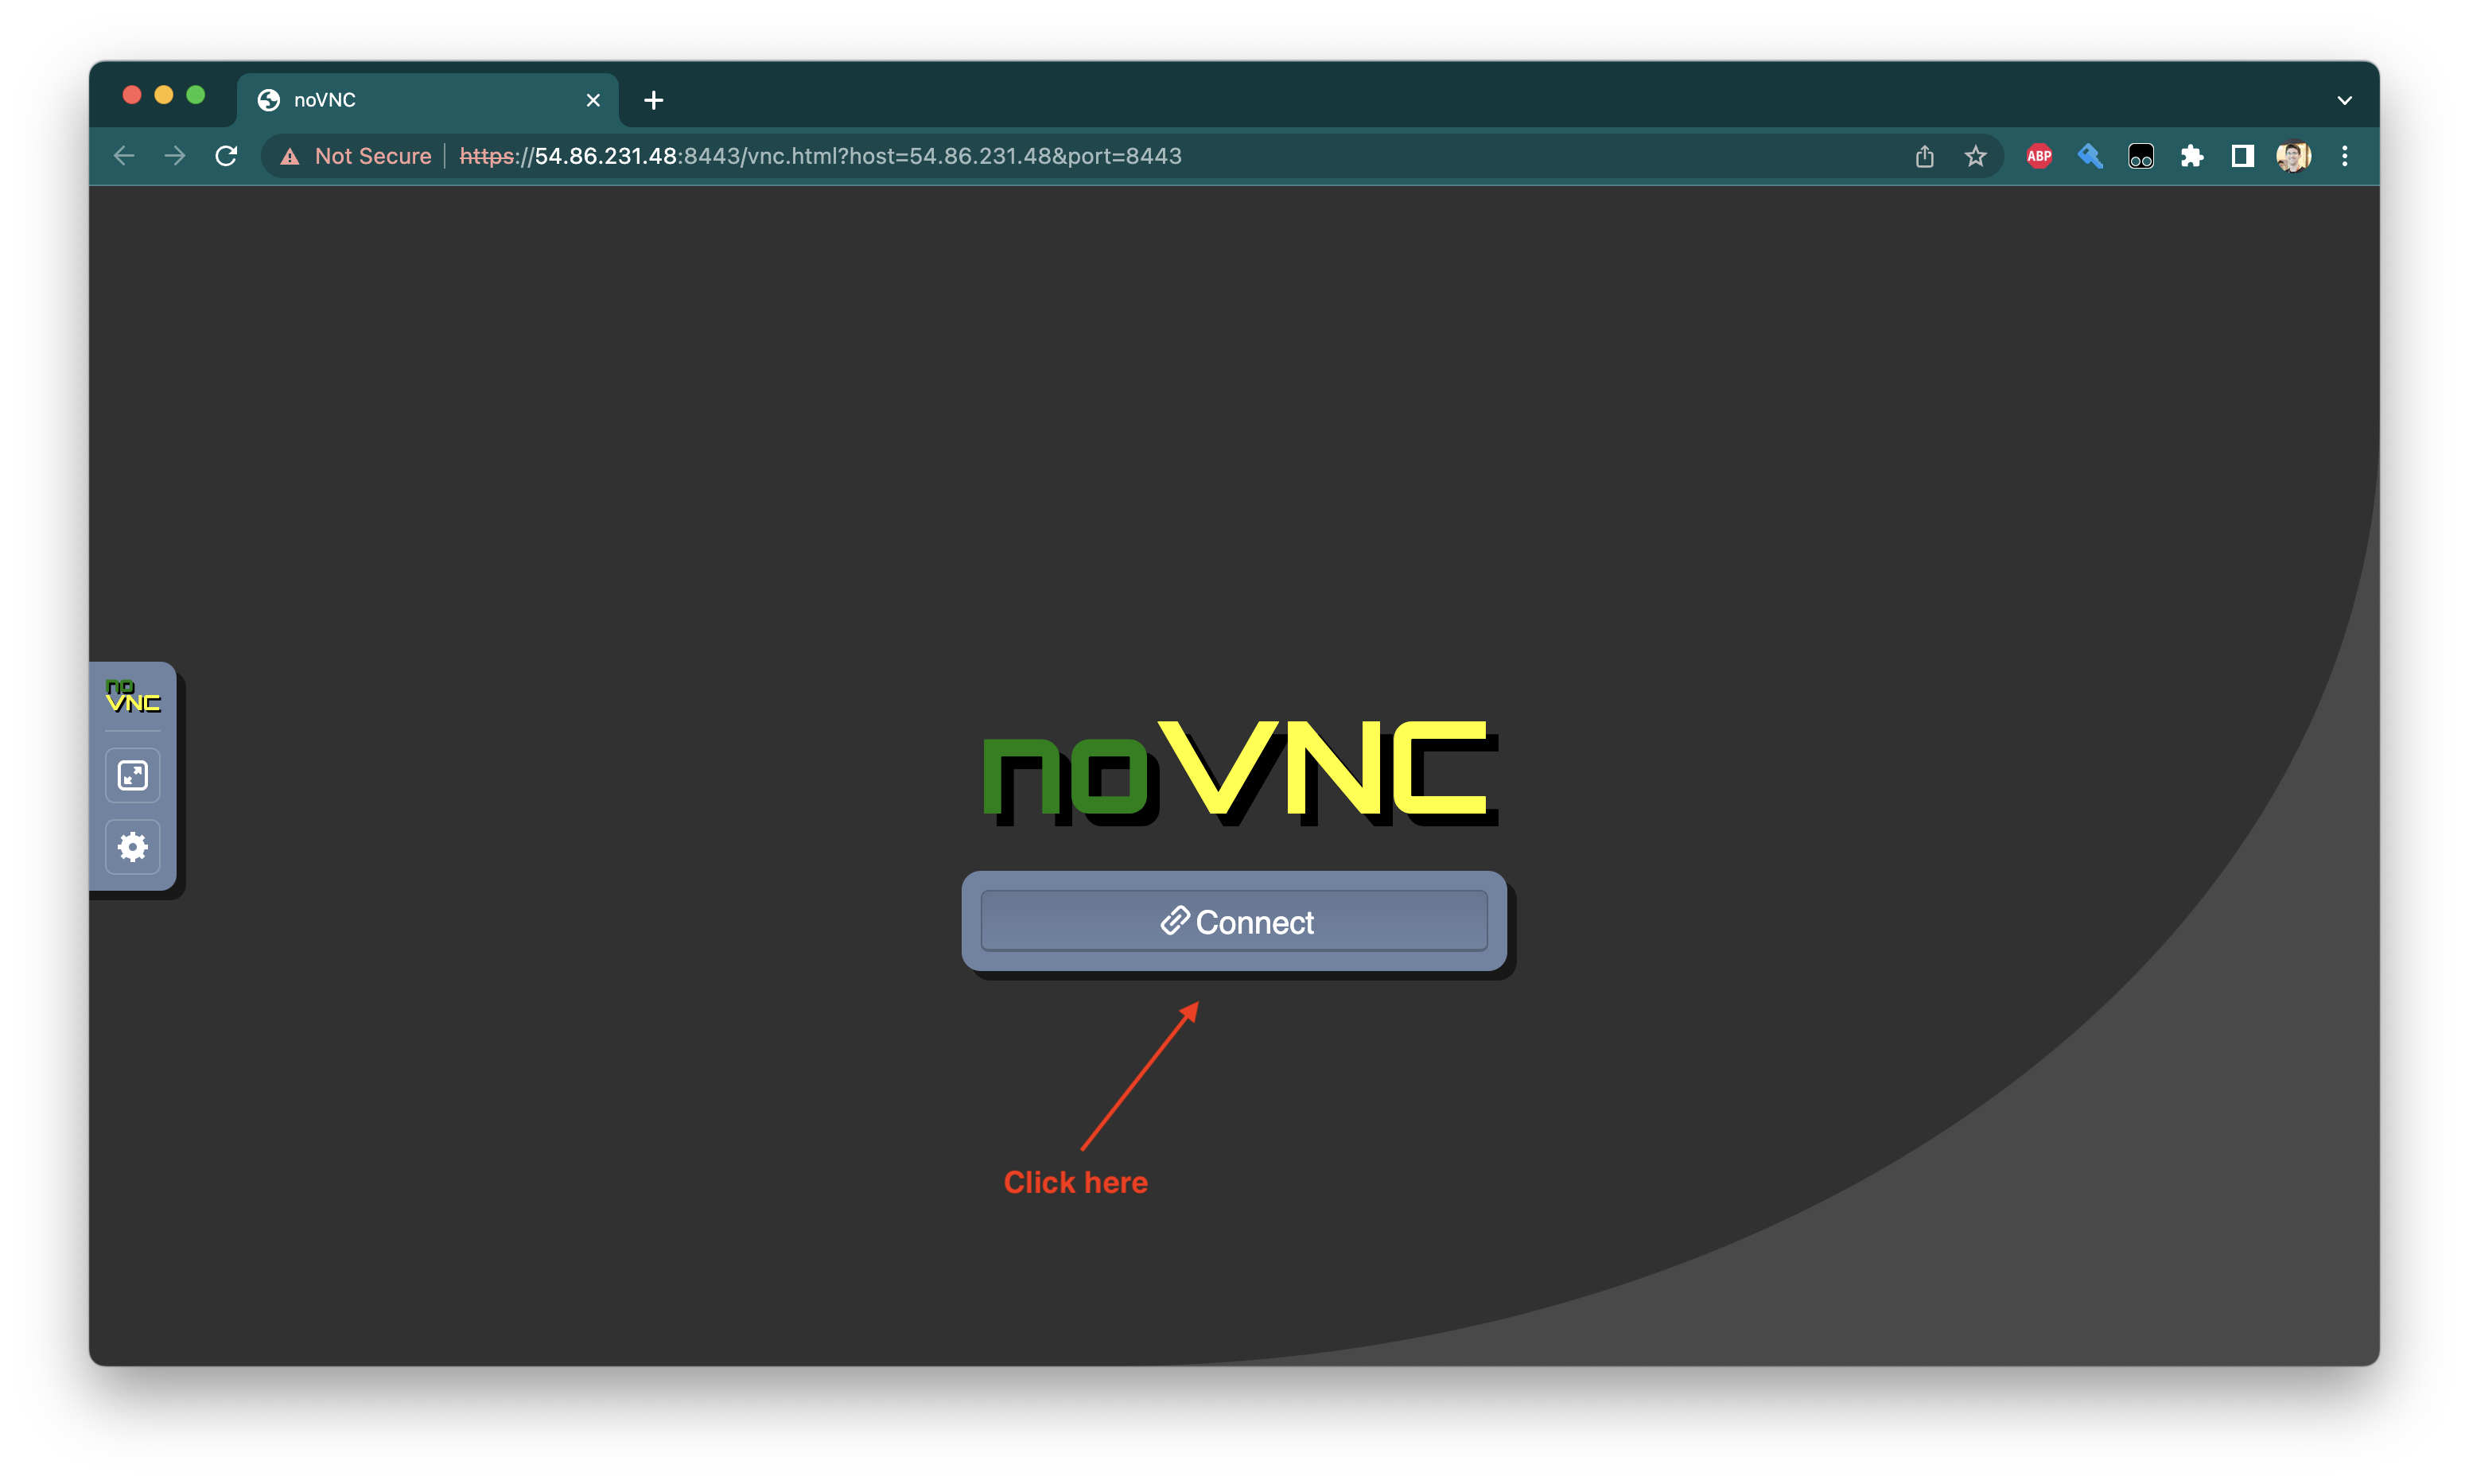
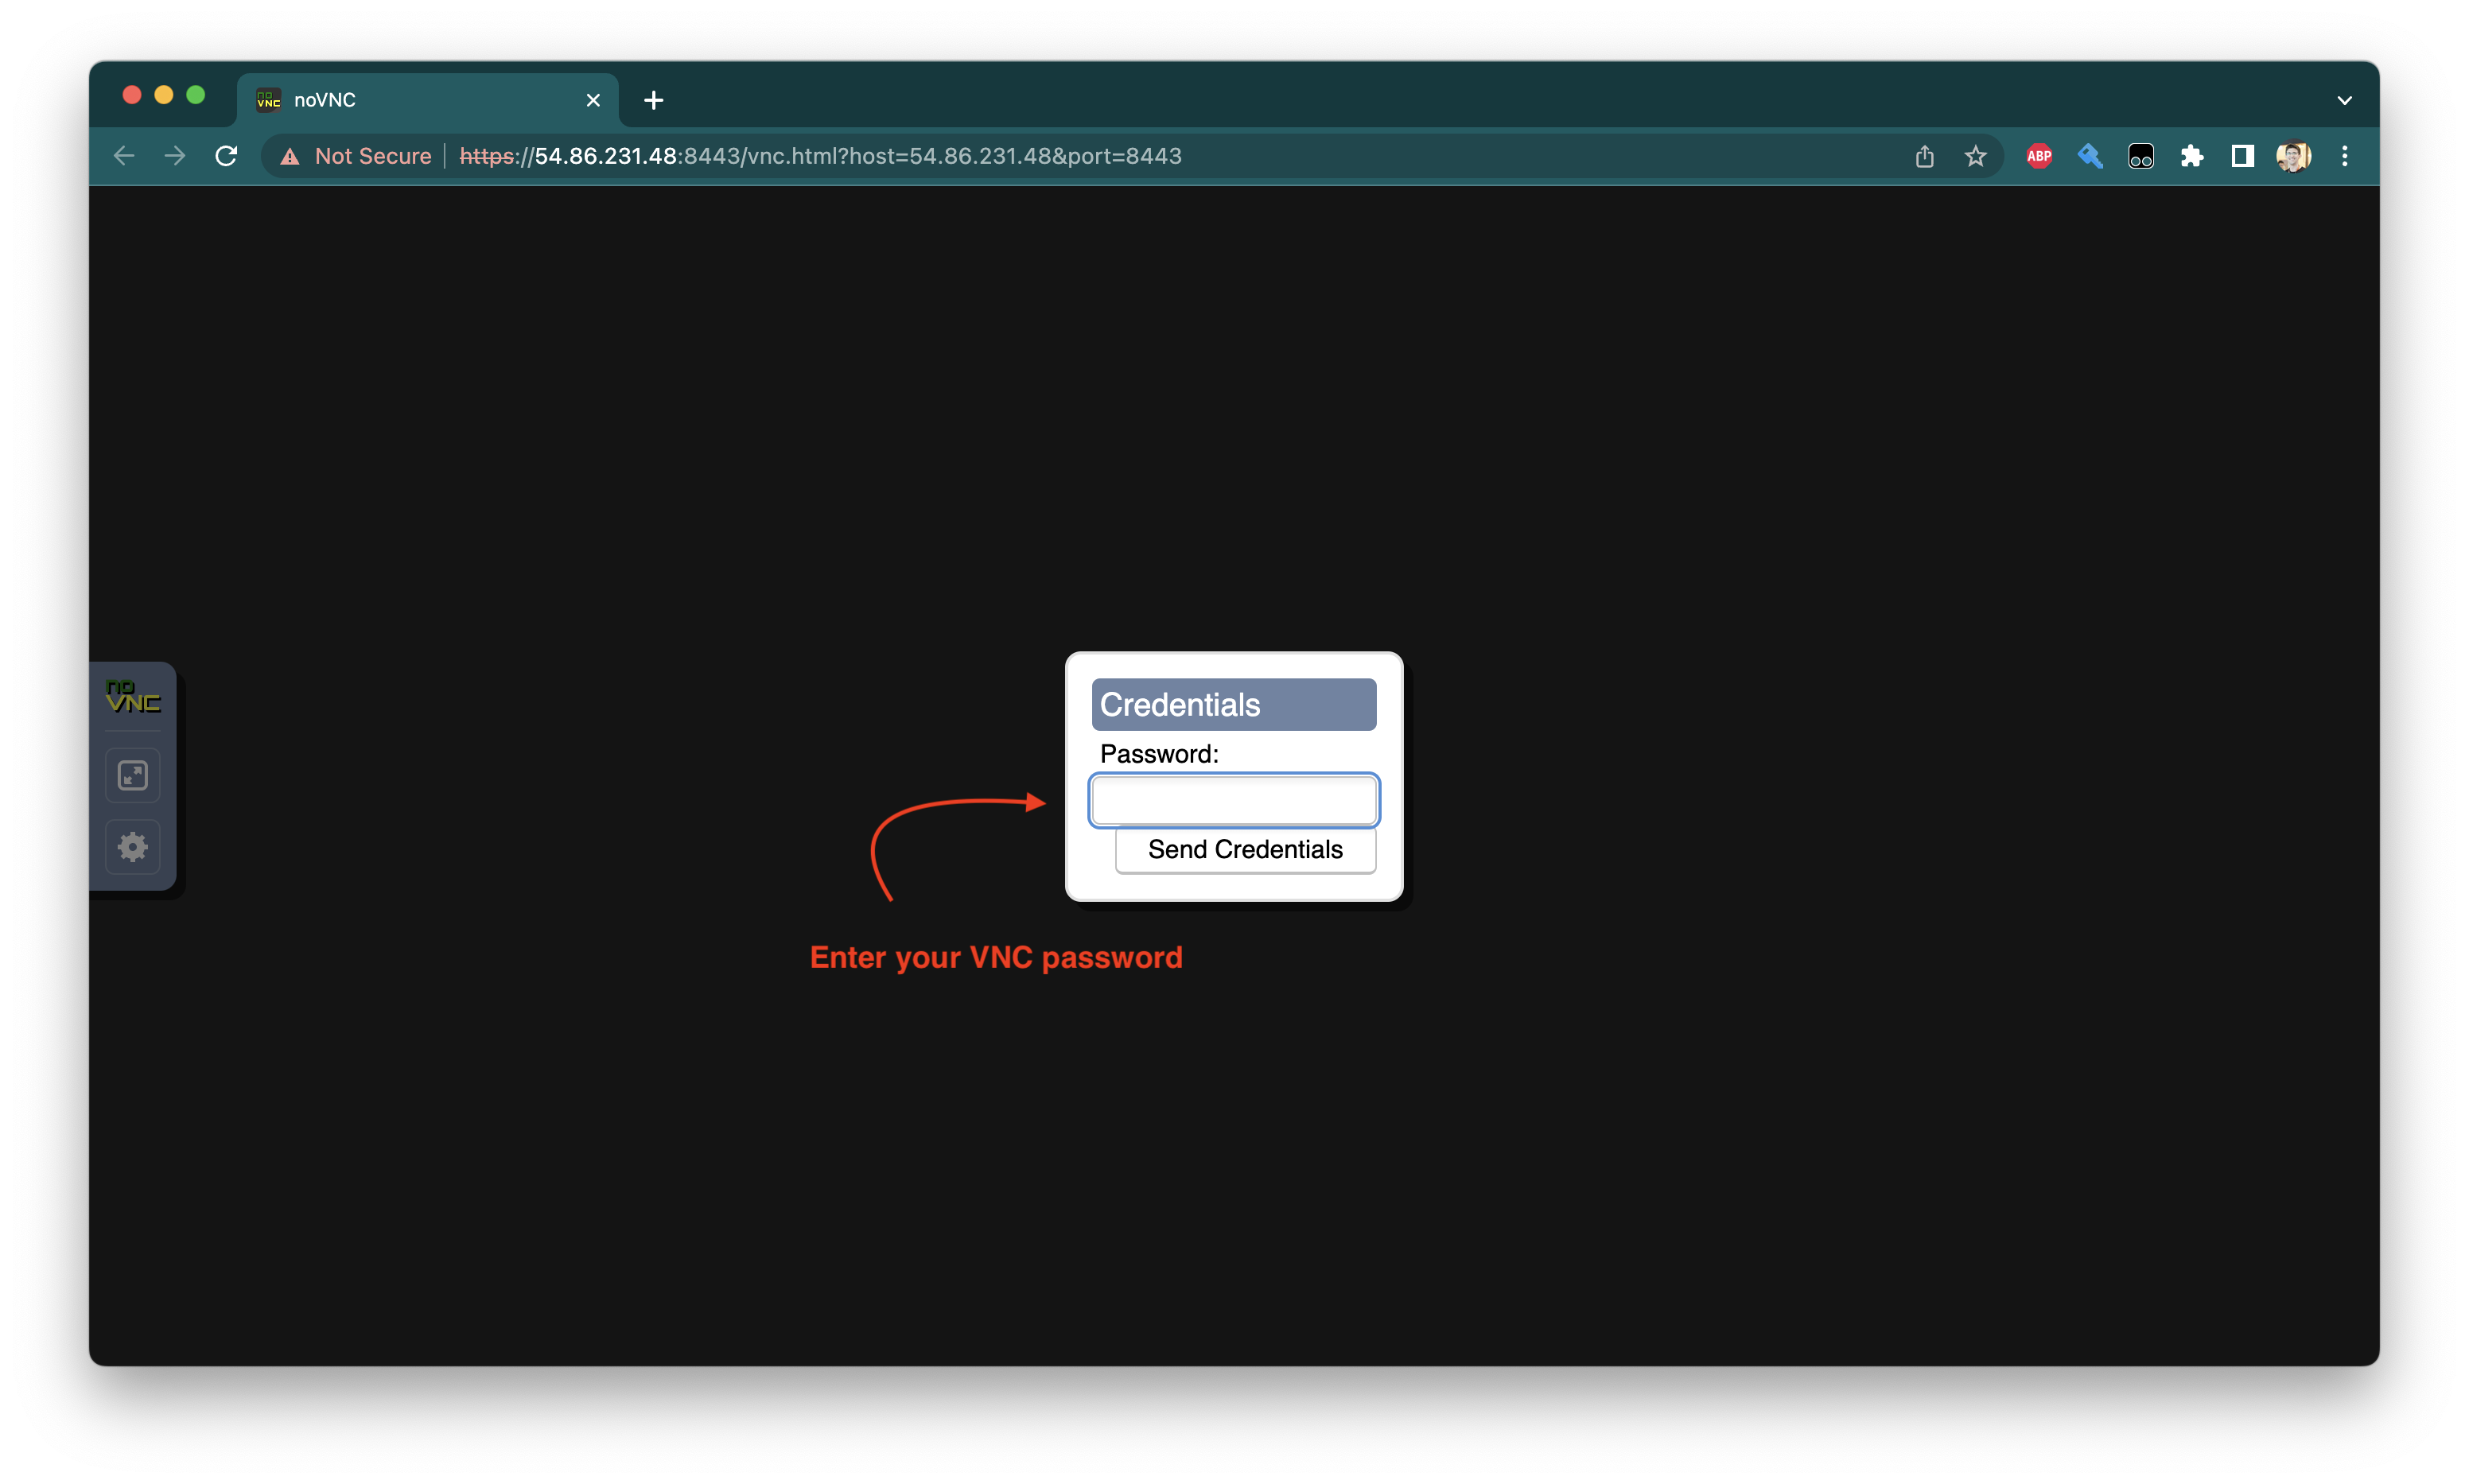
We will then be prompted to connect. At this point we’ll need to log in using the VNC password we set earlier:
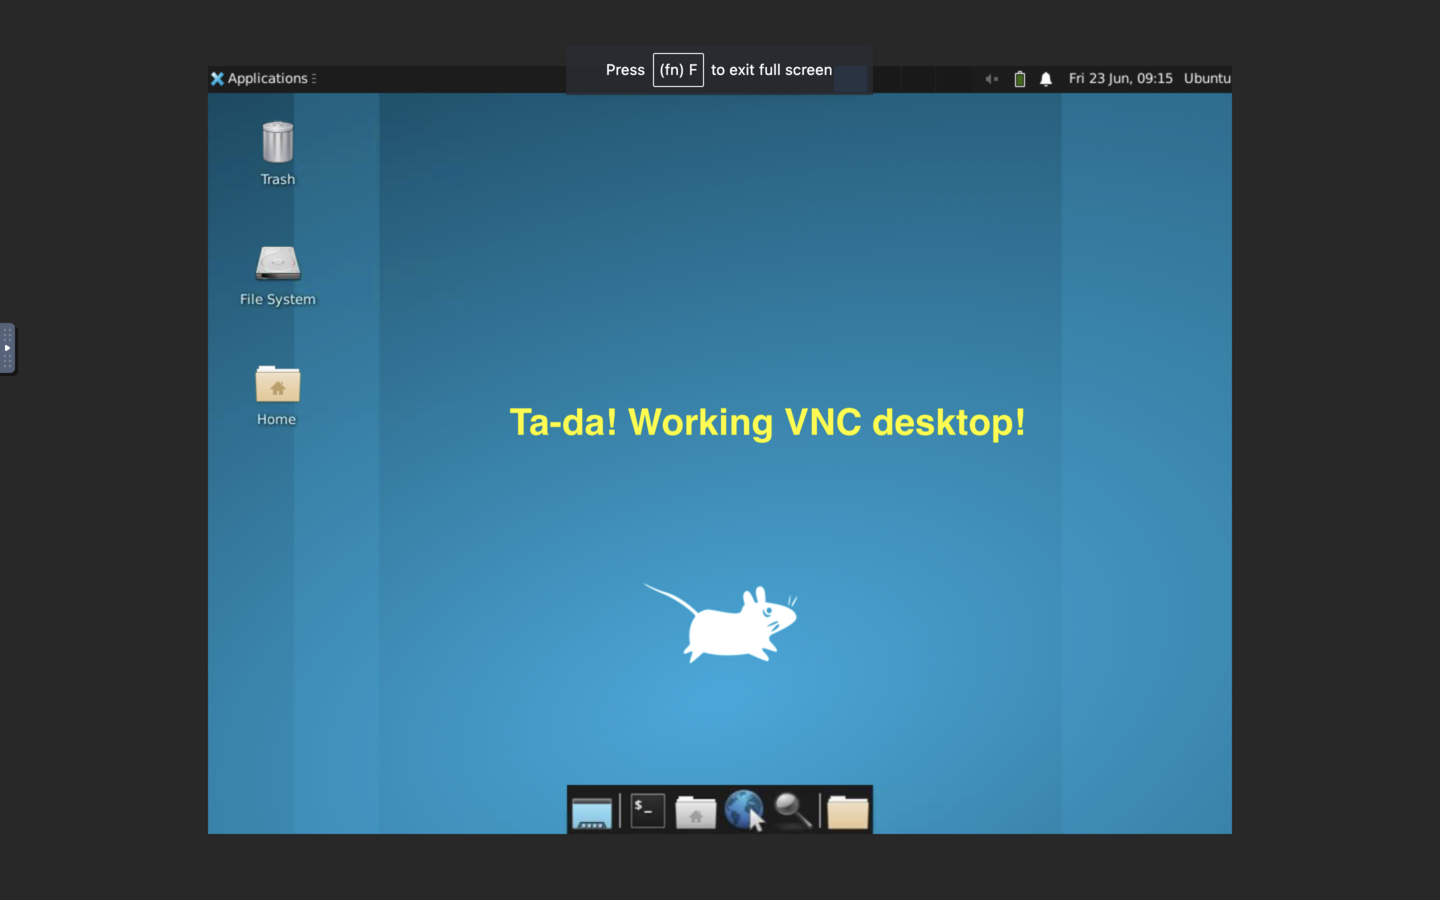
Ta-da! We now have a working (although very barebones) VNC desktop we can access from anywhere:
That’s it! Read on for a small optional enhancement that could make noVNC faster for you.
Optional enhancements Link to heading
Speeding up noVNC Link to heading
Some parts of noVNC rely on Python’s numpy package for acceleration, so it might be helpful to install that:
sudo apt-get install -y python3-pip
pip3 install numpy
Installing a web browser Link to heading
By default, Ubuntu server doesn’t include a web browser, and XFCE won’t install one either. You might want to install your own with:
sudo apt-get install -y firefox
Additional tips for Ubuntu 22.04 users Link to heading
If you’re on Ubuntu 22 or up (I assume you are if you’re reading along), you might notice that the above command does NOT install Firefox using the apt package manager. Instead, it installs Firefox from a snap package.
Most of the time this is fine, but due to some snap permissinos issues, this will cause Firefox to fail when launched from our VNC session. We can fix this by forcing installation from a regular old .deb package, like this:
Note: Steps below shamelessly stolen from this awesome post.
sudo snap remove firefox
Followed by:
sudo add-apt-repository ppa:mozillateam/ppa
And make sure the new package takes priority over the default snap package, with:
echo '
Package: *
Pin: release o=LP-PPA-mozillateam
Pin-Priority: 1001
' | sudo tee /etc/apt/preferences.d/mozilla-firefox
We also want to make sure unattended upgrades work:
echo 'Unattended-Upgrade::Allowed-Origins:: "LP-PPA-mozillateam:${distro_codename}";' | sudo tee /etc/apt/apt.conf.d/51unattended-upgrades-firefox
Finally, we can run the install:
sudo apt-get install -y --allow-downgrades firefox
I include allow-downgrades because apt may see this as an attempt to downgrade, if the Firefox snap was installed before.
That’s it! Hope this helped you out.