There are a number of great solutions out there for developing in a browser, including GitHub CodeSpaces and AWS Cloud9. But what if you want to self host? Enter coder.
This nifty tool lets you host your own ready-made web-based development environment, so you can code anytime, anywhere.
Let’s look at how to set it up on Ubuntu 24.04 LTS, running on an AWS EC2 instance (although we could run it pretty much anywhere).
Initial Setup Link to heading
There’s a handy auto-install script, so we’ll start out with that. Curious about what it does? Run this first:
curl -fsSL https://code-server.dev/install.sh | sh -s -- --dry-run
Great, now that we’re satisfied the world won’t end when we run the installer, let’s run it for real:
curl -fsSL https://code-server.dev/install.sh | sh
Next, make sure to set it up to run at boot:
sudo systemctl enable --now code-server@$USER
Ok, it’s ready to go now, but we have no way to access it in a browser. To do that, we need to set up a public-facing webserver and get a signed SSL certificate. Luckily, the coder docs explain how to do that easily with Caddy. First, install Caddy:
sudo apt install -y debian-keyring debian-archive-keyring apt-transport-https
curl -1sLf 'https://dl.cloudsmith.io/public/caddy/stable/gpg.key' | sudo gpg --dearmor -o /usr/share/keyrings/caddy-stable-archive-keyring.gpg
curl -1sLf 'https://dl.cloudsmith.io/public/caddy/stable/debian.deb.txt' | sudo tee /etc/apt/sources.list.d/caddy-stable.list
sudo apt update
sudo apt install caddy
Open /etc/caddy/Caddyfile and replace its contents with:
mydomain.com {
  reverse_proxy 127.0.0.1:8080
}
Make sure to change mydomain.com to match your domain, for instance coder.myrealcomain.com. Save the file.
Now, simply reload Caddy:
sudo systemctl reload caddy
Great! When you visit https://coder.mysite.com in a browser, you should now see a welcome screen like this one:
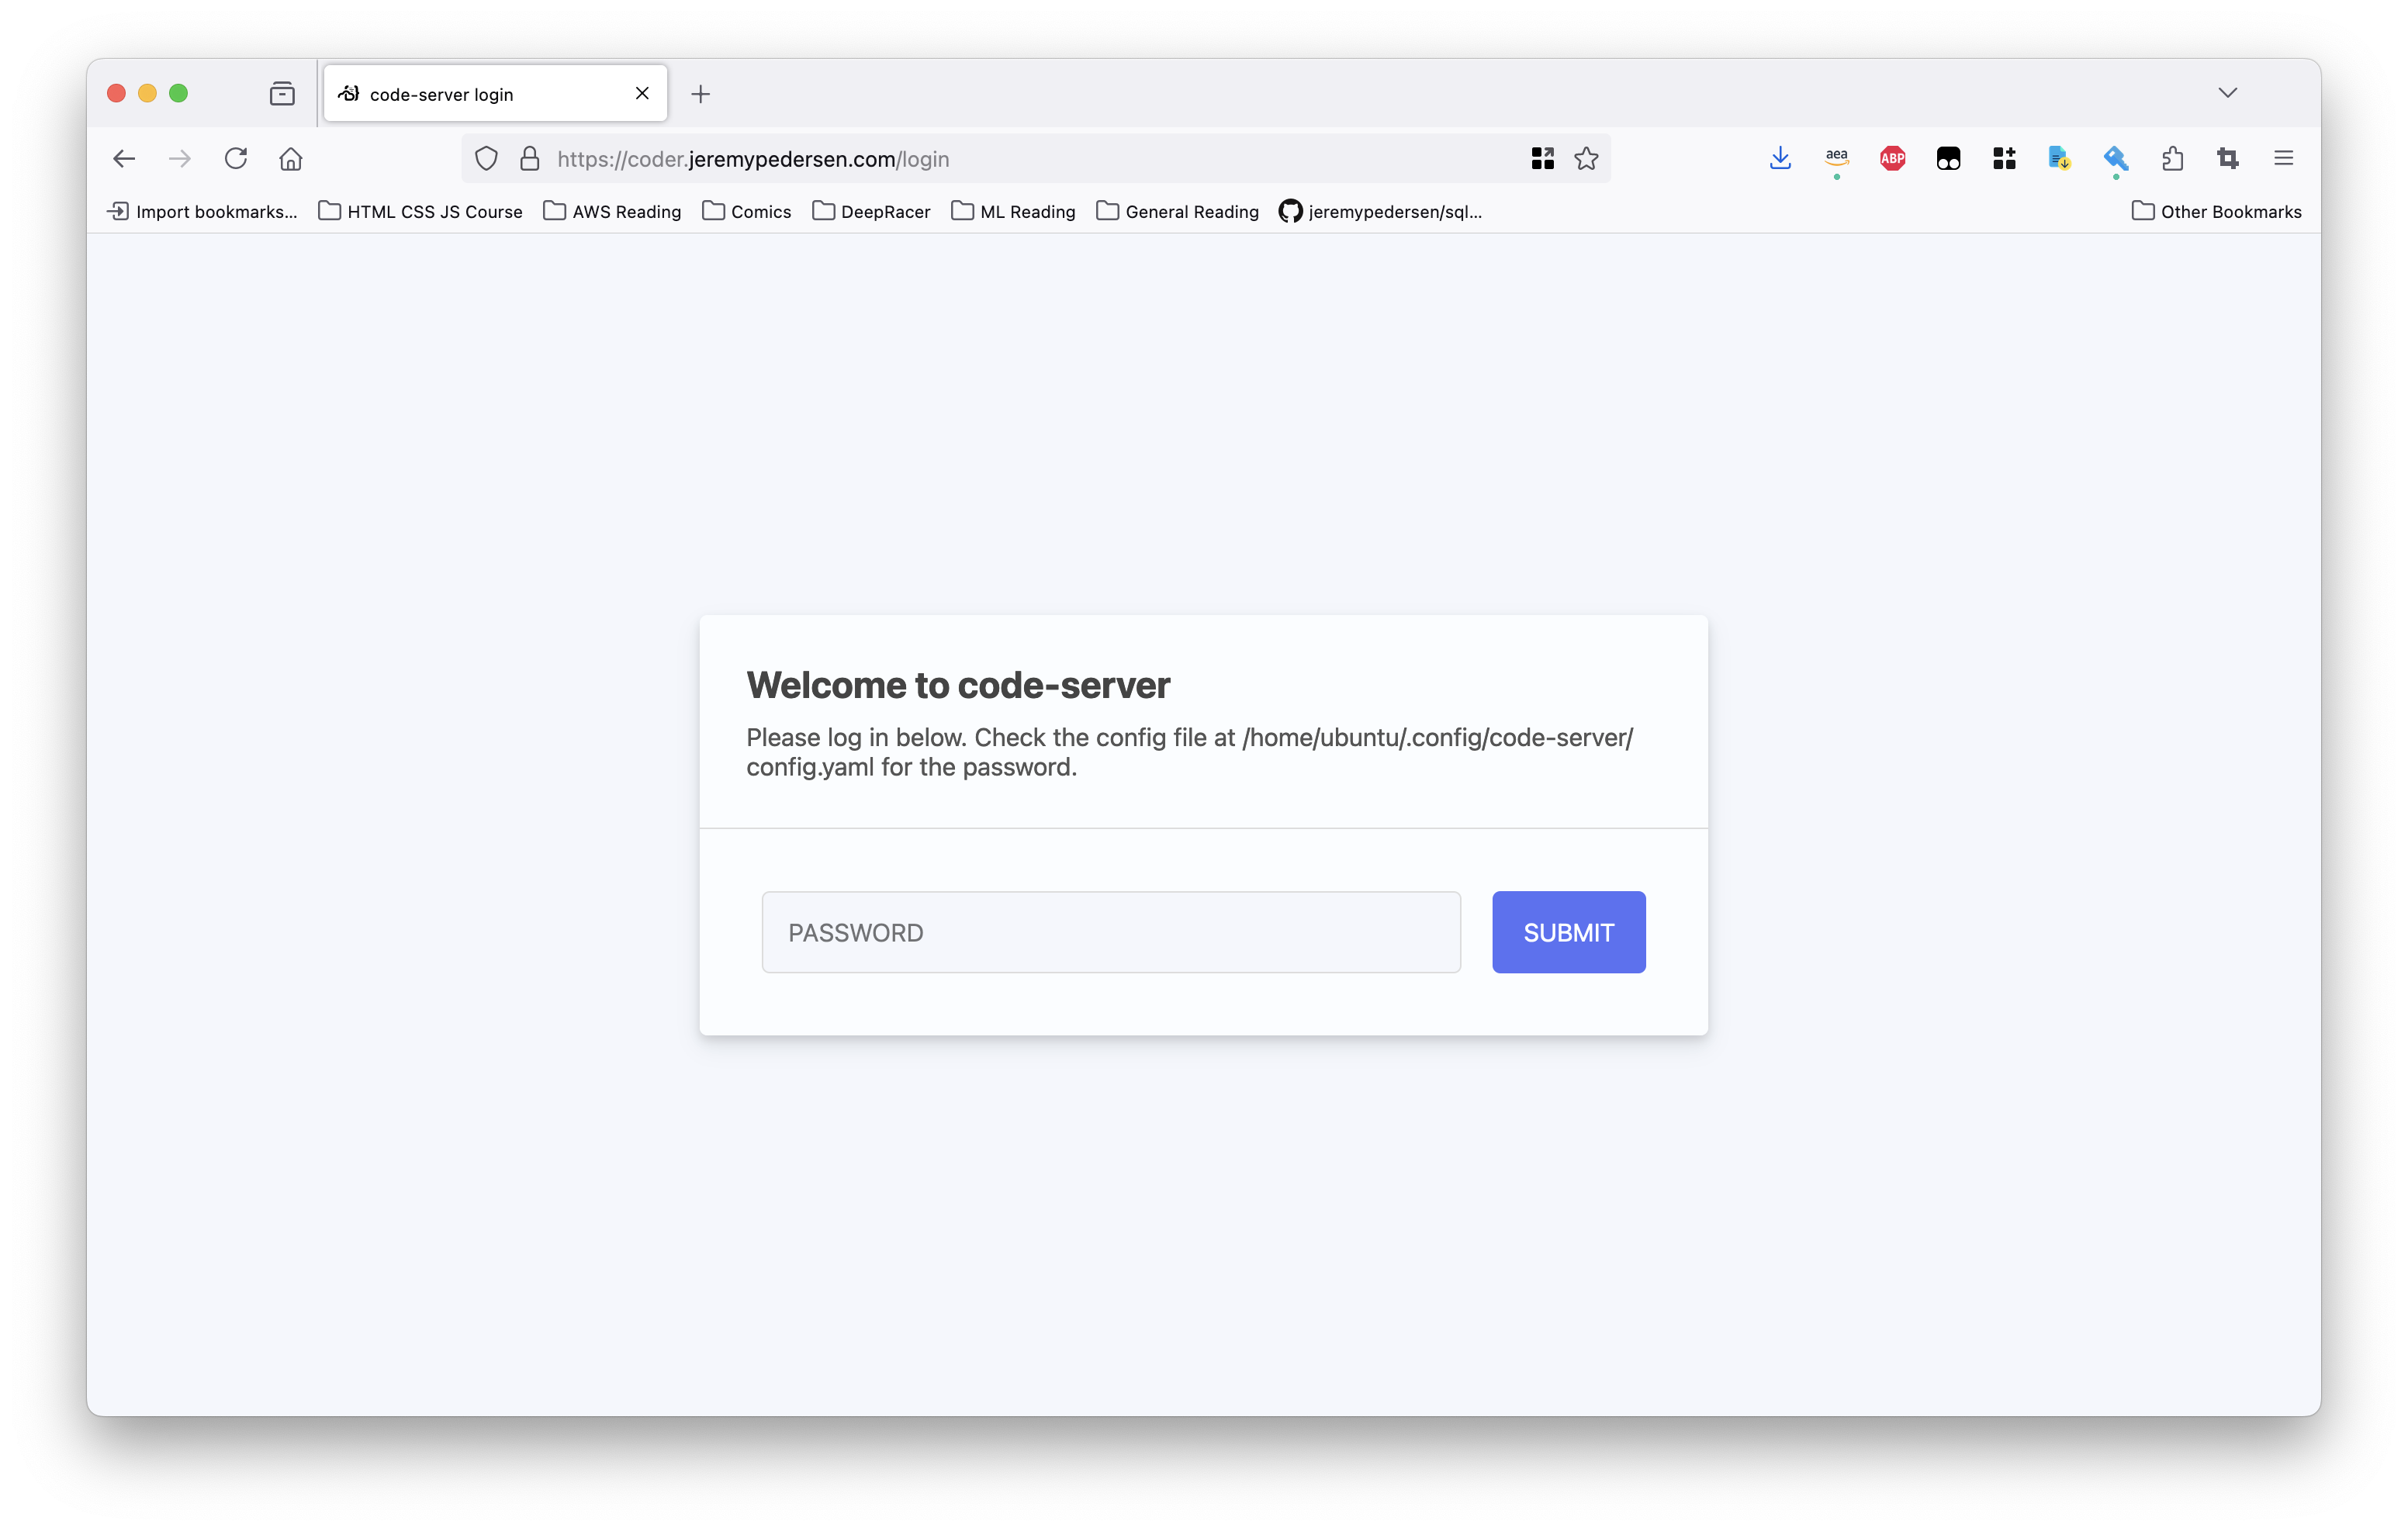
Follow the instructions to locate your password (which will be in the config.yaml file).
Other stuff Link to heading
If you’re going to be doing real development work, you’ll likely need Docker at some point, so let’s install that and get it all set up now.
We start by making sure we don’t have any unofficial Docker packages hanging around:
for pkg in docker.io docker-doc docker-compose docker-compose-v2 podman-docker containerd runc; do sudo apt-get remove $pkg; done
Next, run the code below to set up the official Docker repo:
# Add Docker's official GPG key:
sudo apt-get update
sudo apt-get install ca-certificates curl
sudo install -m 0755 -d /etc/apt/keyrings
sudo curl -fsSL https://download.docker.com/linux/ubuntu/gpg -o /etc/apt/keyrings/docker.asc
sudo chmod a+r /etc/apt/keyrings/docker.asc

# Add the repository to Apt sources:
echo \
  "deb [arch=$(dpkg --print-architecture) signed-by=/etc/apt/keyrings/docker.asc] https://download.docker.com/linux/ubuntu \
  $(. /etc/os-release && echo "$VERSION_CODENAME") stable" | \
  sudo tee /etc/apt/sources.list.d/docker.list > /dev/null
sudo apt-get update
Done? Great. Now let’s install Docker:
sudo apt-get install docker-ce docker-ce-cli containerd.io docker-buildx-plugin docker-compose-plugin
Next, run the hello-world container to make sure everything is working as expected:
sudo docker run hello-world
You might notice that we had to use sudo. What if we don’t want to force a user to be root? We just need to add our user (in this case ubuntu) to the docker group, like this:
sudo groupadd docker
sudo usermod -aG docker $USER
newgrp docker
You might get a warning from groupadd, something like: “groupadd: group ‘docker’ already exists”. You can safely ignore this warning.
Try running the hello-world container again, this time without sudo:
docker run hello-world
It should now work without sudo. While we’re at it, let’s install the AWS CLI (we are running on an EC2 instance, after all):
sudo apt-get install -y unzip
curl "https://awscli.amazonaws.com/awscli-exe-linux-aarch64.zip" -o "awscliv2.zip"
unzip awscliv2.zip
sudo ./aws/install
Note that the commands above assume we are installing on a Graviton instance, which uses an ARM CPU. If you’re on x86 you’ll need to fetch a different installer. You can find the correct install steps here.
I also like to install the static site builder Hugo, which I use to build and preview some of my sites:
sudo apt-get install hugo
I also use the gh command (GitHub CLI) pretty regularly. So let’s get that one, too:
sudo apt-get install gh
There! Now we’ve got a nice barebones environment set up for all our coding needs. Anything we need to add later one, we can fetch on an as-needed basis, and if anything goes wrong with our environment, we can simply revert to an earlier snapshot! You are taking snapshots of your EC2 instance’s disks, right?
That’s it for now. See you next time!