So you want to have your own Dify server you can access from anywhere. Great! Here’s a quick guide to getting it set up to run on an EC2 instance running 24.04 LTS.
I’ll be using an AWS EC2 t4g.large instance, but I find that Dify runs just as well on a t4g.medium (at least for a single user) and the steps here are not AWS specific. Run Dify wherever it suits you.
If you don’t need your server to be public, you can even run Dify locally using Docker Desktop or the docker CLI! See the Dify docs for more guidance.
Initial Setup Link to heading
First, do the usual dance to get Ubuntu 24.04 LTS in tip-top shape:
sudo apt-get update
sudo apt-get upgrade
sudo apt-get autoremove
sudo apt-get autoclean
Then of course it’s time to reboot, just for good measure:
sudo reboot
Install Docker Link to heading
We need docker and its built-in docker compose command in order to get Dify to run. Following along with the official Docker docs
We start by making sure we don’t have any unofficial Docker packages hanging around:
for pkg in docker.io docker-doc docker-compose docker-compose-v2 podman-docker containerd runc; do sudo apt-get remove $pkg; done
Next, run the code below to set up the official Docker repo:
# Add Docker's official GPG key:
sudo apt-get update
sudo apt-get install ca-certificates curl
sudo install -m 0755 -d /etc/apt/keyrings
sudo curl -fsSL https://download.docker.com/linux/ubuntu/gpg -o /etc/apt/keyrings/docker.asc
sudo chmod a+r /etc/apt/keyrings/docker.asc

# Add the repository to Apt sources:
echo \
  "deb [arch=$(dpkg --print-architecture) signed-by=/etc/apt/keyrings/docker.asc] https://download.docker.com/linux/ubuntu \
  $(. /etc/os-release && echo "$VERSION_CODENAME") stable" | \
  sudo tee /etc/apt/sources.list.d/docker.list > /dev/null
sudo apt-get update
Done? Great. Now let’s install Docker:
sudo apt-get install docker-ce docker-ce-cli containerd.io docker-buildx-plugin docker-compose-plugin
Next, run the hello-world container to make sure everything is working as expected:
sudo docker run hello-world
You might notice that we had to use sudo. What if we don’t want to force a user to be root? We just need to add our user (in this case ubuntu) to the docker group, like this:
sudo groupadd docker
sudo usermod -aG docker $USER
newgrp docker
You might get a warning from groupadd, something like: “groupadd: group ‘docker’ already exists”. You can safely ignore this warning.
Try running the hello-world container again, this time without sudo:
docker run hello-world
It should now work just fine without sudo. If it doesn’t, you may have to log out and log back in for the changes to take effect. If it still doesn’t work, make sure the 3 commands above didn’t produce any errors.
It’s also a good idea to install the AWS CLI, which we may need later:
sudo apt-get install -y unzip
curl "https://awscli.amazonaws.com/awscli-exe-linux-aarch64.zip" -o "awscliv2.zip"
unzip awscliv2.zip
sudo ./aws/install
Install nginx and set up SSL Link to heading
If (like me) you want Dify to be accessible from anywhere, securely, via a web browser, then you are going to need to set up an nginx proxy in front of Dify and protect it with a certificate from Let’s Encrypt.
First, we install nginx itself:
sudo apt-get install nginx
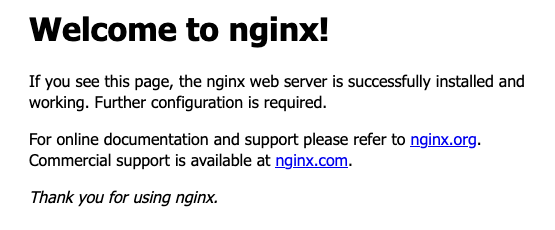
If you visit the public IP address of your server after the nginx installation is complete, you should see a page like this one:
Now that nginx is working for us, we need to install certbot, Let’s Encrypt’s tool for automatically managing SSL certificates:
sudo apt install certbot python3-certbot-nginx
Great! Now we’re almost ready to apply for a certificate.
Note: Before running the steps to apply for the certificate, make sure you already have a domain name such as www.mysite.com, and that a DNS record for that domain is pointing at the public IP address of your server. Certbot is going to run some checks to make sure you truly control your domain, and these will fail if you haven’t set up DNS properly. For more information on the types of challenges certbot can perform to verify that you own your domain, see this page in their documentation.
certbot has handy built-in functionality to perform the challenges, generate the certificates, and then set up nginx properly all on its own:
sudo certbot --nginx
When you run this command, you’ll be prompted for an email address, and you’ll be asked to agree to the terms of service. You’ll also have to provide one or more domains you want on the certificate (for instance, you could put both mysite.com and www.mysite.com on the certificate, if you want).
Once it’s done, visiting https://www.mysite.com in a browser should show the “Welcome to nginx!” page again, but this time protected with a brand new SSL certificate!
Install Dify and reconfigure nginx Link to heading
Now, we need to fetch and install Dify itself. First, clone into the git repo:
git clone https://github.com/langgenius/dify.git
We also need to make some configuration changes:
cd dify/docker
cp .env.example .env
Dify is actually composed of several different containers that provide different functionality, all exposed via Dify’s own nginx proxy server. When we start Dify, that nginx server will try to grab port 80, which is already in use by our nginx server.
To get around this, we need to change the ports that Dify’s nginx container exposes when it starts up. Open the .env file and find these two lines:
EXPOSE_NGINX_PORT=80
EXPOSE_NGINX_SSL_PORT=443
Change them to:
EXPOSE_NGINX_PORT=8080
EXPOSE_NGINX_SSL_PORT=8443
Next, we need to modify our nginx configuration so that traffic is forwarded to localhost:8080. Right now, our nginx server is still serving up the default welcome page.
Before you do that, back up your existing nginx configuration:
cd /etc/nginx/sites-available
sudo cp default default.bkp
Now, open up default in a text editor, and find a server block which looks like this one (be careful not to update a very similar looking block for the port 80 listener…we should leave that one alone):
server {

        # SSL configuration
        #
        # listen 443 ssl default_server;
        # listen [::]:443 ssl default_server;
        #
        # Note: You should disable gzip for SSL traffic.
        # See: https://bugs.debian.org/773332
        #
        # Read up on ssl_ciphers to ensure a secure configuration.
        # See: https://bugs.debian.org/765782
        #
        # Self signed certs generated by the ssl-cert package
        # Don't use them in a production server!
        #
        # include snippets/snakeoil.conf;

        root /var/www/html;

        # Add index.php to the list if you are using PHP
        index index.html index.htm index.nginx-debian.html;
        server_name dify.jeremypedersen.com; # managed by Certbot


        location / {
                # First attempt to serve request as file, then
                # as directory, then fall back to displaying a 404.
                try_files $uri $uri/ =404;
        }

        # pass PHP scripts to FastCGI server
        #
        #location ~ \.php$ {
        #       include snippets/fastcgi-php.conf;
        #
        #       # With php-fpm (or other unix sockets):
        #       fastcgi_pass unix:/run/php/php7.4-fpm.sock;
        #       # With php-cgi (or other tcp sockets):
        #       fastcgi_pass 127.0.0.1:9000;
        #}

        # deny access to .htaccess files, if Apache's document root
        # concurs with nginx's one
        #
        #location ~ /\.ht {
        #       deny all;
        #}


    listen [::]:443 ssl ipv6only=on; # managed by Certbot
    listen 443 ssl; # managed by Certbot
    ssl_certificate /etc/letsencrypt/live/dify.jeremypedersen.com/fullchain.pem; # managed by Certbot
    ssl_certificate_key /etc/letsencrypt/live/dify.jeremypedersen.com/privkey.pem; # managed by Certbot
    include /etc/letsencrypt/options-ssl-nginx.conf; # managed by Certbot
    ssl_dhparam /etc/letsencrypt/ssl-dhparams.pem; # managed by Certbot

}
Comment out these sections:
root /var/www/html;
index index.html index.htm index.nginx-debian.html;
location / {
                # First attempt to serve request as file, then
                # as directory, then fall back to displaying a 404.
                try_files $uri $uri/ =404;
        }
Finally, add a new location {} block just above the one you commented out, which looks like this:
location / {
                proxy_pass http://localhost:8080;
                proxy_set_header Host $host;
                proxy_set_header X-Real-IP $remote_addr;
                proxy_set_header X-Forwarded-For $proxy_add_x_forwarded_for;
                proxy_set_header X-Forwarded-Proto $scheme;
                proxy_redirect off;
                proxy_buffering off;
                proxy_request_buffering off;
                client_max_body_size 0;
        }
This will pass any traffic we receive to port 8080 on localhost, which is where Dify will be running (once we start it, anyway).
Note: Assuming you plugged in the correct hostname when running certbot, the nginx server block above should already be listening for traffic to dify.mysite.com or whichever hostname you entered during certbot setup.
Make sure you didn’t break anything in the nginx config, by running a check against the new config file:
sudo nginx -t
If the tests are successful, you will see:
nginx: the configuration file /etc/nginx/nginx.conf syntax is ok
nginx: configuration file /etc/nginx/nginx.conf test is successful
Next, restart nginx:
sudo systemctl restart nginx
Since we have not yet started dify, attempting to visit your site at https://mysite.com or https://www.mysite.com should how result in a “bad gateway” error. This is OK! It will go away once Dify is running:

Get Dify running Link to heading
From the dify/docker directory, we can now run:
docker compose up -d
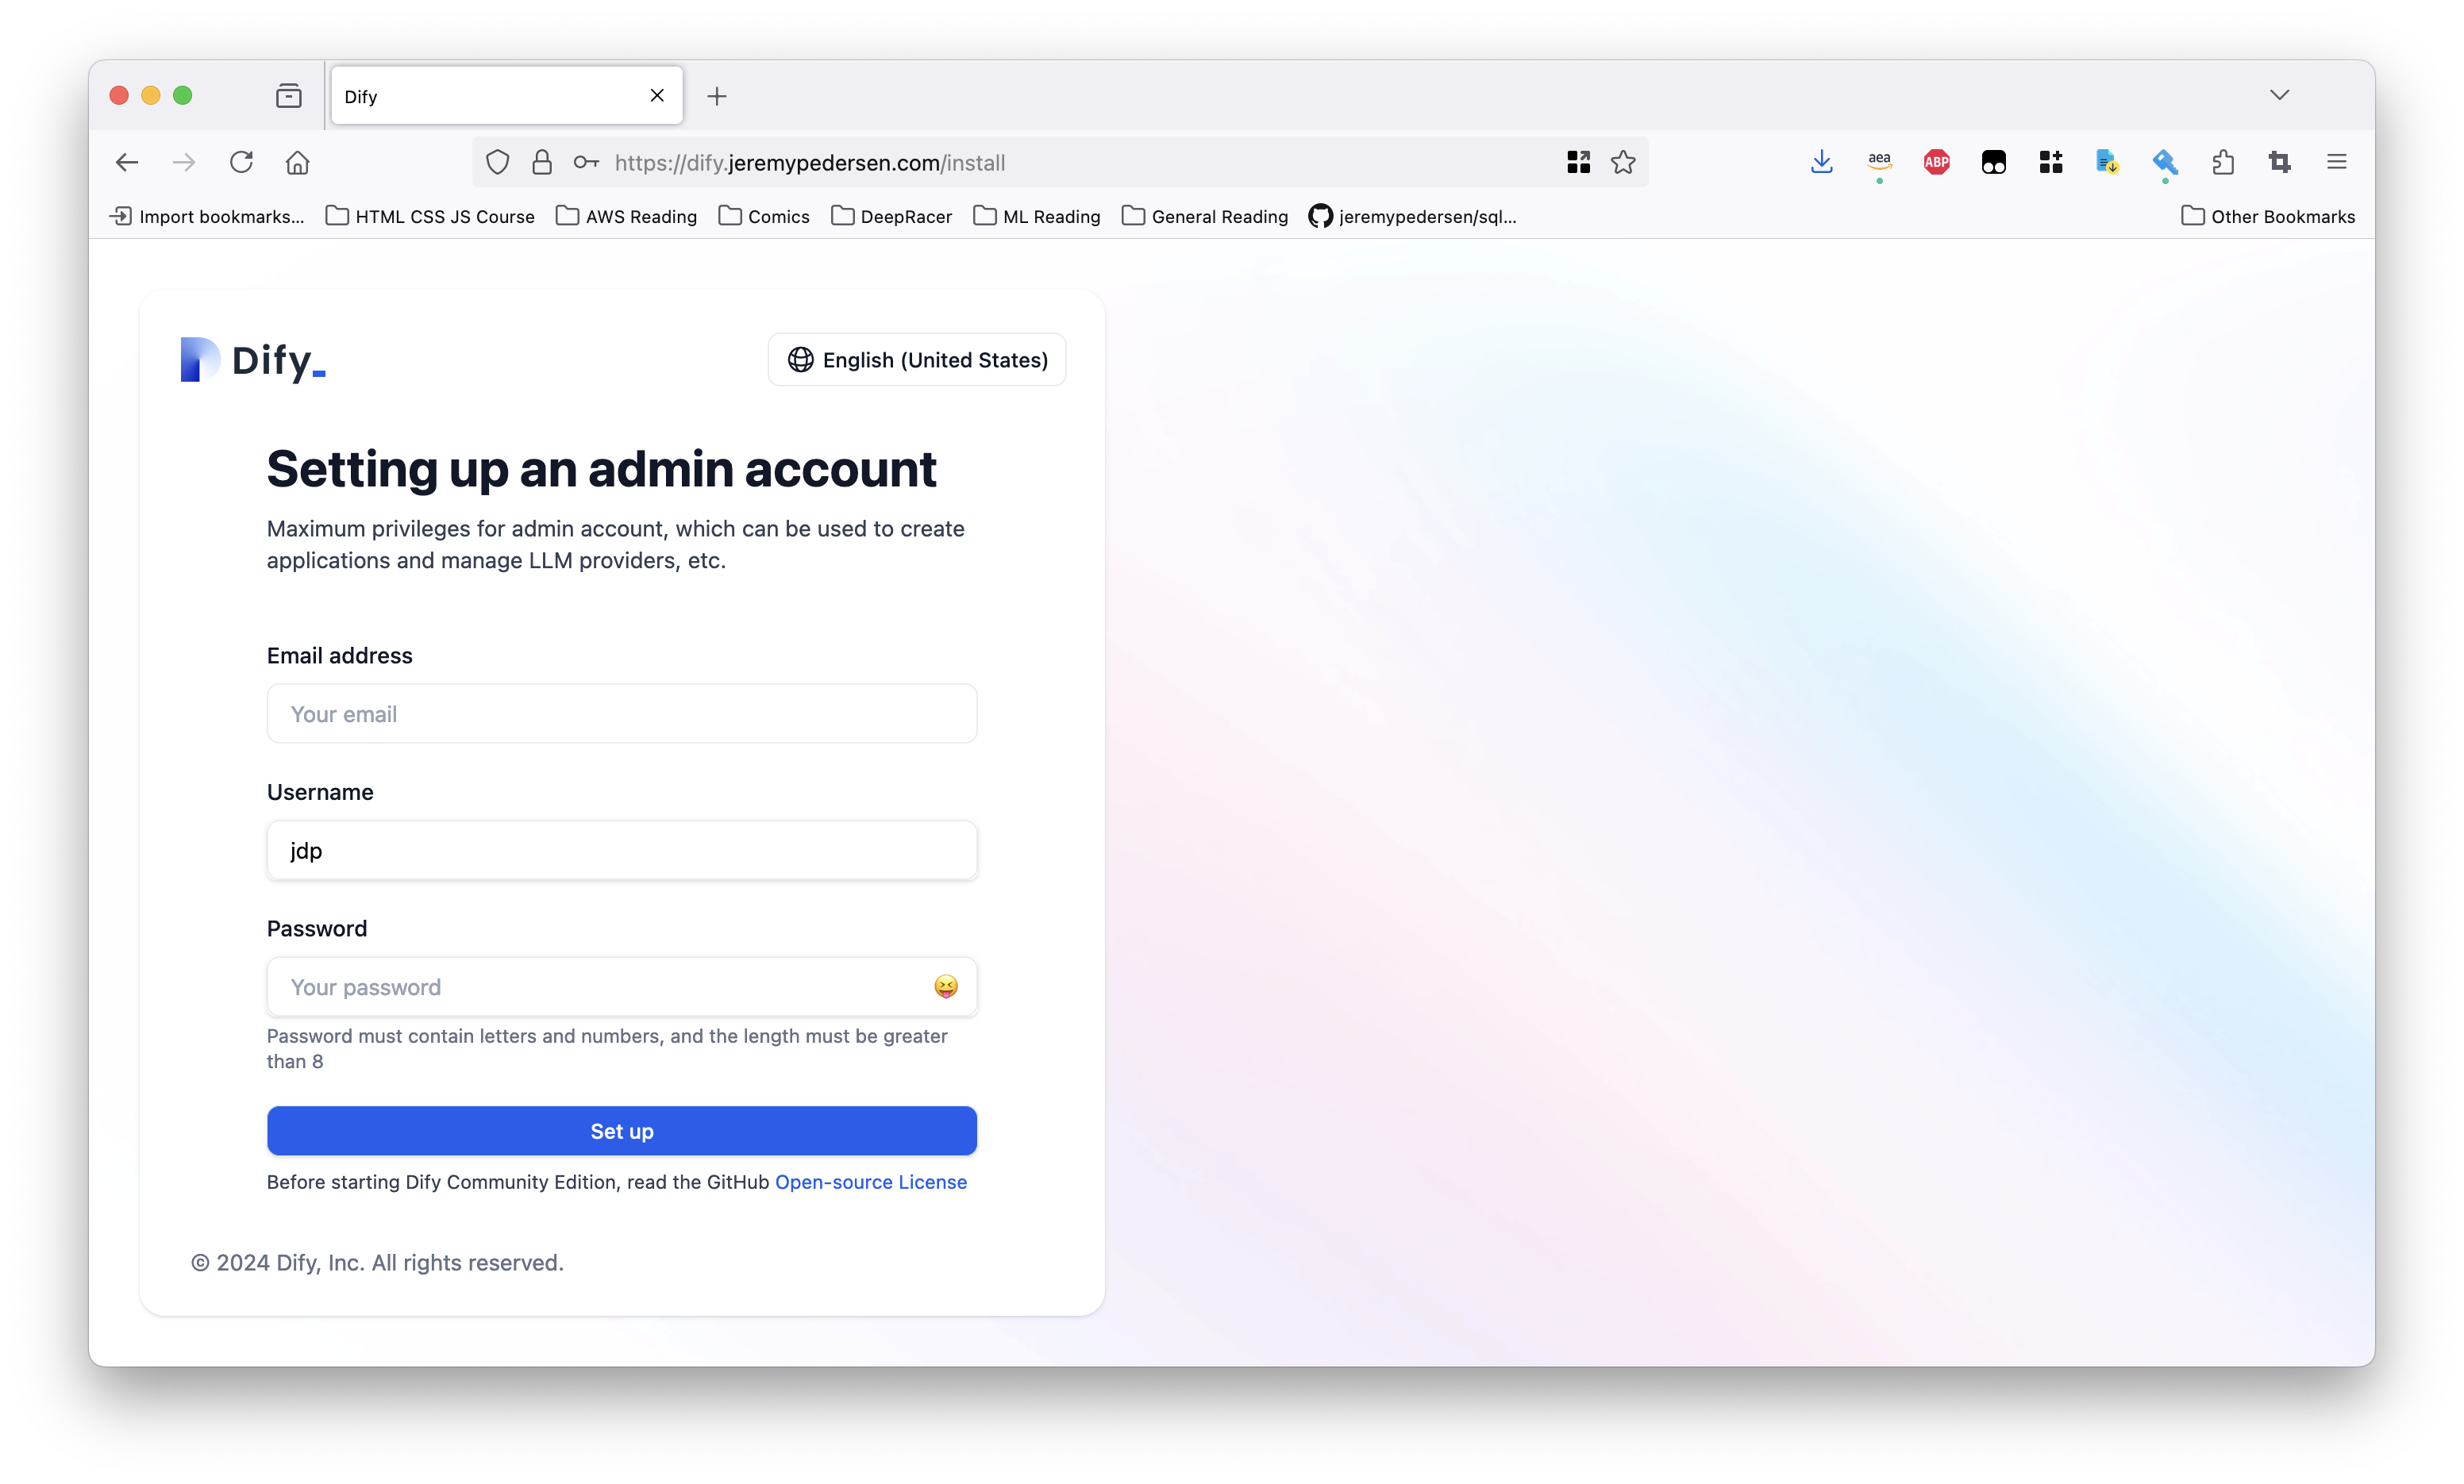
It may take a while to fetch and start all the containers. If all is well, visiting your site will now show the Dify setup page:
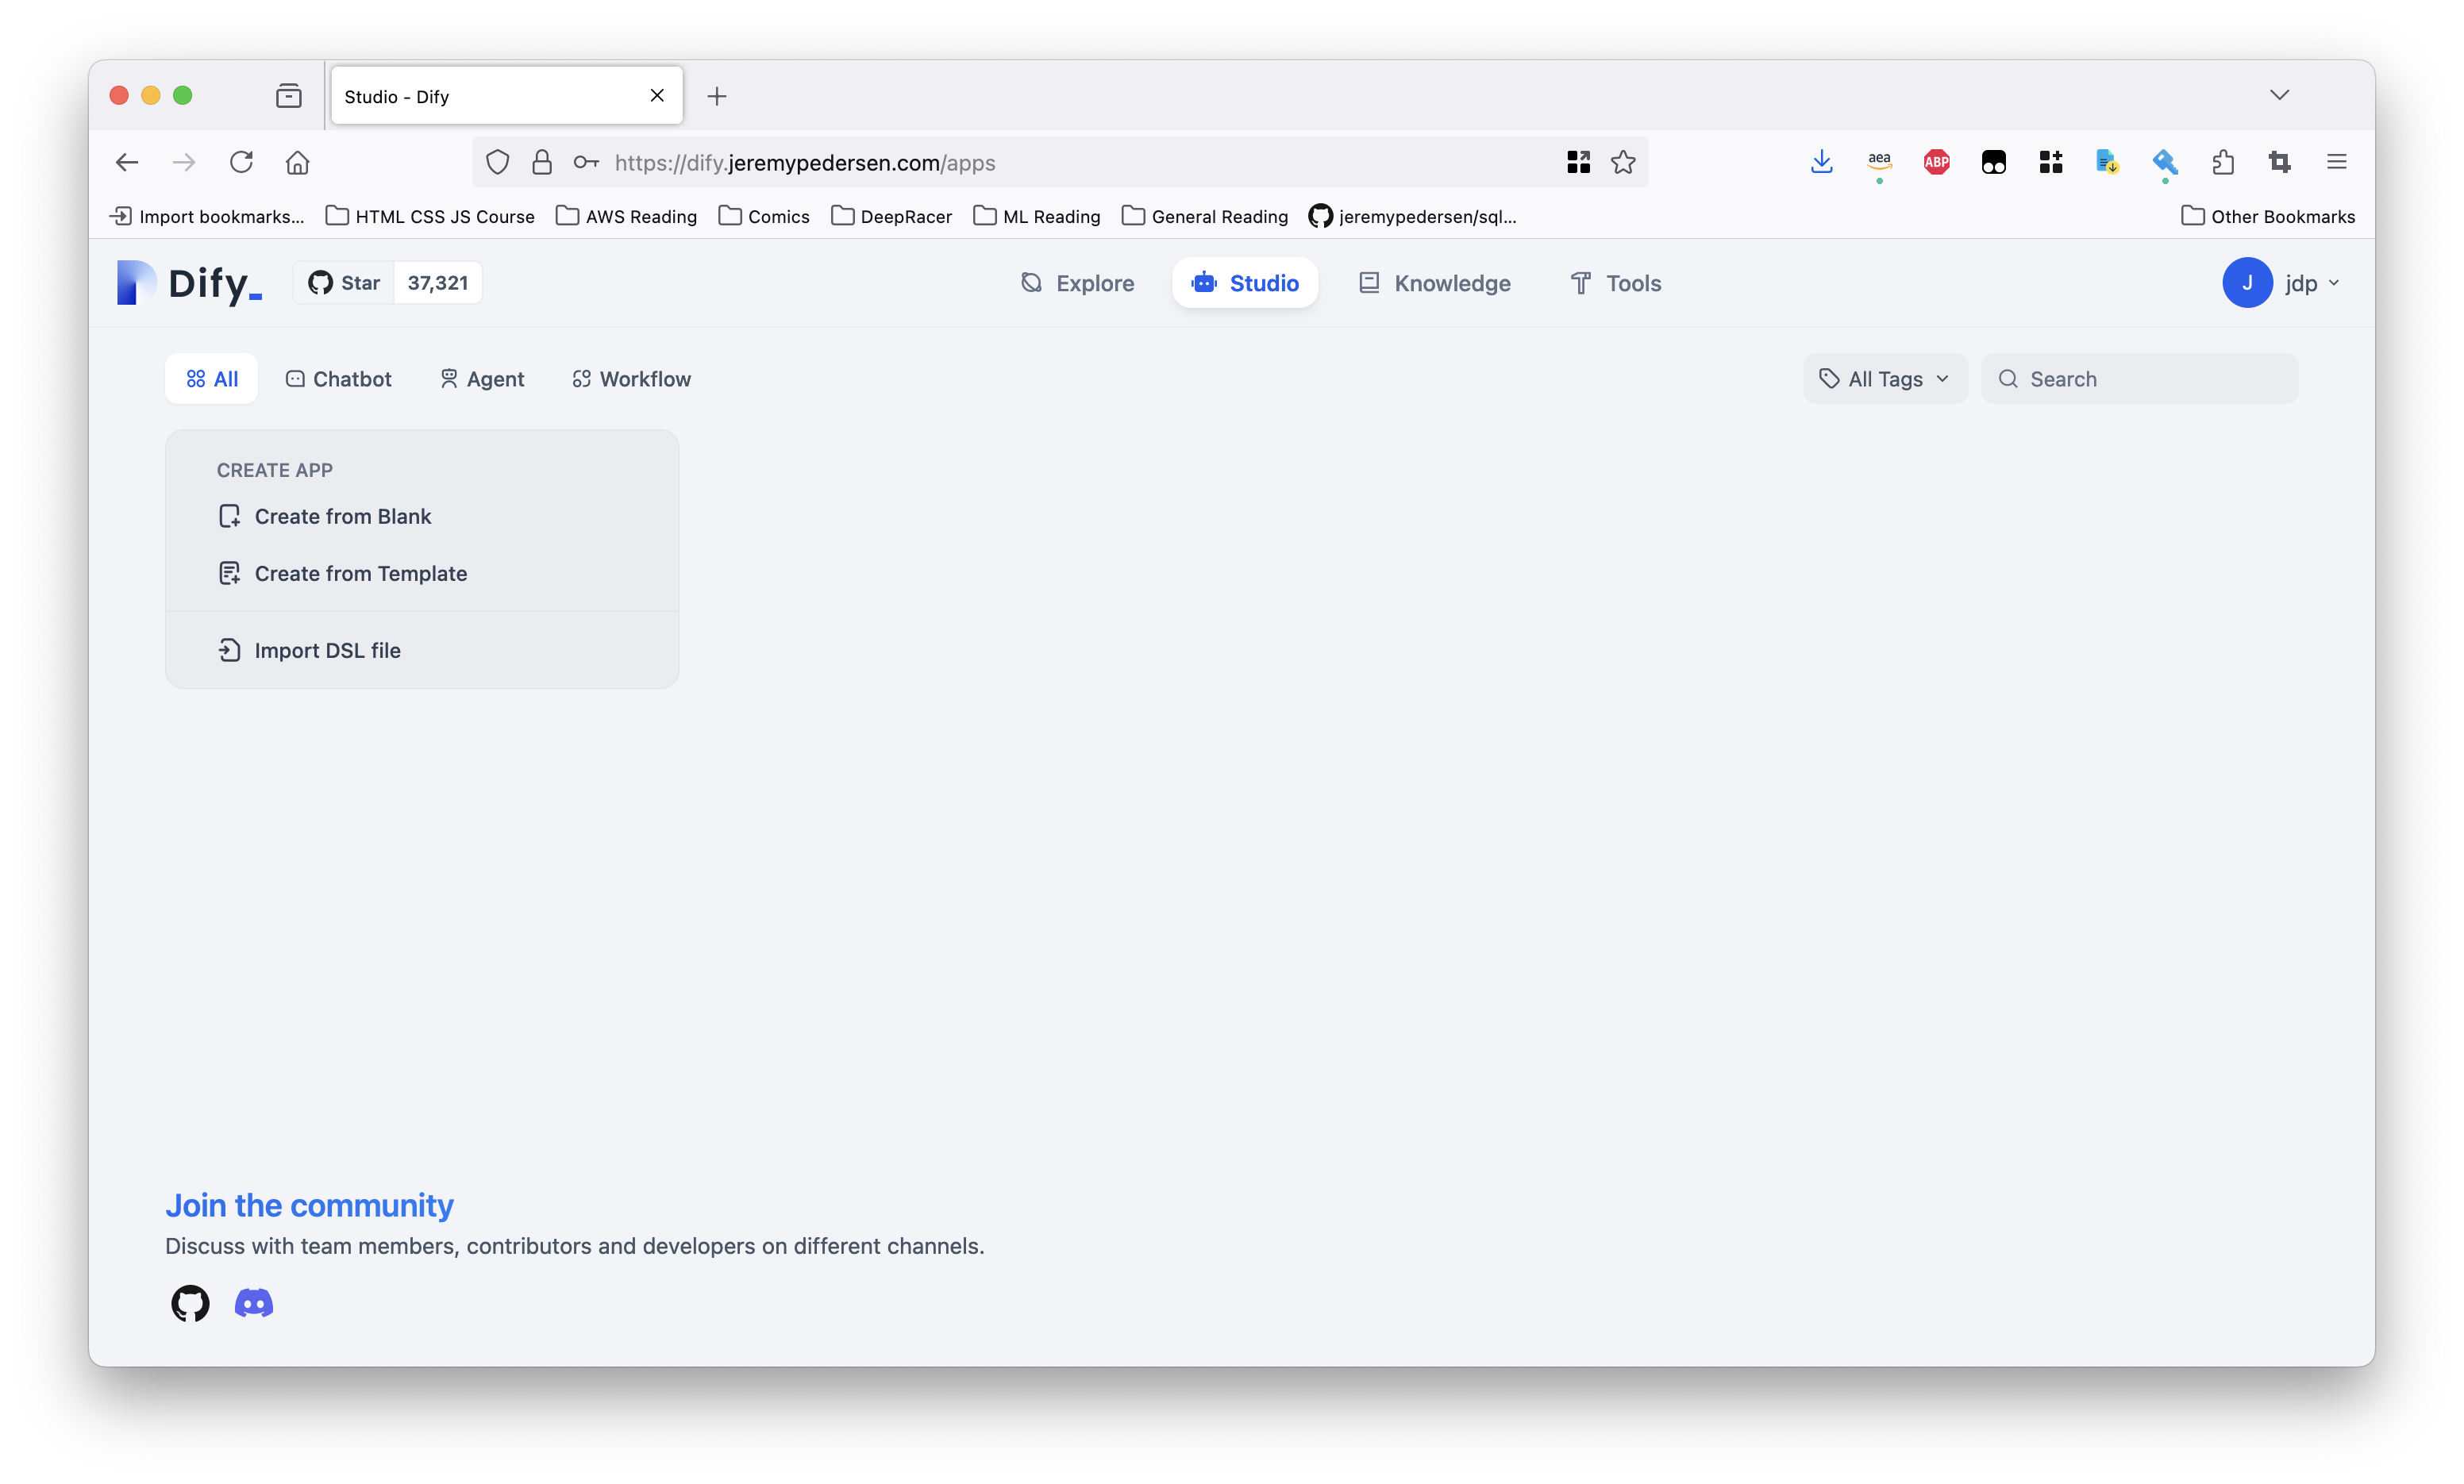
Once you have chosen an admin username and password, you should be taken to the “Studio” page, where you can start creating your own AI chatbots and agents:
Updating Dify Link to heading
If we need to update Dify later, it’s a simple process:
cd dify/docker
docker compose down
git pull origin main
docker compose pull
docker compose up -d
That’s it! We’ve now got Dify fully set up and ready to run.