There are a lot of options for setting up a self-hosted fileshare, with the two most popular being Nextcloud and ownCloud.
Personally, I find those two to be very heavy, and they offer a lot of functionality I don’t use. For simple file sync and share, I like Seafile. So let’s set it up!
The Seafile docs offer a great guide to getting things set up with Docker, so let’s do that. But first, we need to take care of some housekeeping.
Initial Setup Link to heading
First, do the usual dance to get Ubuntu 24.04 in tip-top shape:
sudo apt-get update
sudo apt-get upgrade
sudo apt-get autoremove
sudo apt-get autoclean
Then of course it’s time to reboot, just for good measure:
sudo reboot
Install Docker Link to heading
We need docker and its built-in docker compose command in order to get Seafile running. Following along with the official Docker docs
We start by making sure we don’t have any unofficial Docker packages hanging around:
for pkg in docker.io docker-doc docker-compose docker-compose-v2 podman-docker containerd runc; do sudo apt-get remove $pkg; done
Next, run the code below to set up the official Docker repo:
# Add Docker's official GPG key:
sudo apt-get update
sudo apt-get install ca-certificates curl
sudo install -m 0755 -d /etc/apt/keyrings
sudo curl -fsSL https://download.docker.com/linux/ubuntu/gpg -o /etc/apt/keyrings/docker.asc
sudo chmod a+r /etc/apt/keyrings/docker.asc

# Add the repository to Apt sources:
echo \
  "deb [arch=$(dpkg --print-architecture) signed-by=/etc/apt/keyrings/docker.asc] https://download.docker.com/linux/ubuntu \
  $(. /etc/os-release && echo "$VERSION_CODENAME") stable" | \
  sudo tee /etc/apt/sources.list.d/docker.list > /dev/null
sudo apt-get update
Done? Great. Now let’s install Docker:
sudo apt-get install docker-ce docker-ce-cli containerd.io docker-buildx-plugin docker-compose-plugin
Next, run the hello-world container to make sure everything is working as expected:
sudo docker run hello-world
You might notice that we had to use sudo. What if we don’t want to force a user to be root? We just need to add our user (in this case ubuntu) to the docker group, like this:
sudo groupadd docker
sudo usermod -aG docker $USER
newgrp docker
You might get a warning from groupadd, something like: “groupadd: group ‘docker’ already exists”. You can safely ignore this warning.
Try running the hello-world container again, this time without sudo:
docker run hello-world
It should now work just fine without sudo. If it doesn’t, you may have to log out and log back in for the changes to take effect. If it still doesn’t work, make sure the 3 commands above didn’t produce any errors.
It’s also a good idea to install the AWS CLI, which we may need later (we’re on AWS after all):
sudo apt-get install -y unzip
curl "https://awscli.amazonaws.com/awscli-exe-linux-aarch64.zip" -o "awscliv2.zip"
unzip awscliv2.zip
sudo ./aws/install
Setting up Seafile Link to heading
First, we create a new folder to hold Seafile’s configuration, then we fetch the docker-compose.yaml file for Community Edition 11 (CE11), which is the latest as I write this. I prefer to install directly in /home/ubuntu so I have modified the official install instructions to work from that directory. Commands below assume you’re in /home/ubuntu:
mkdir -p seafile
cd seafile
wget -O "docker-compose.yml" "https://manual.seafile.com/11.0/docker/docker-compose/ce/11.0/docker-compose.yml"
Open docker-compose.yml in your favorite text editor. It should look like this:
services:
  db:
    image: mariadb:10.11
    container_name: seafile-mysql
    environment:
      - MYSQL_ROOT_PASSWORD=db_dev  # Required, set the root's password of MySQL service.
      - MYSQL_LOG_CONSOLE=true
      - MARIADB_AUTO_UPGRADE=1
    volumes:
      - /opt/seafile-mysql/db:/var/lib/mysql  # Required, specifies the path to MySQL data persistent store.
    networks:
      - seafile-net

  memcached:
    image: memcached:1.6.18
    container_name: seafile-memcached
    entrypoint: memcached -m 256
    networks:
      - seafile-net

  seafile:
    image: seafileltd/seafile-mc:11.0-latest
    container_name: seafile
    ports:
      - "80:80"
#     - "443:443"  # If https is enabled, cancel the comment.
    volumes:
      - /opt/seafile-data:/shared   # Required, specifies the path to Seafile data persistent store.
    environment:
      - DB_HOST=db
      - DB_ROOT_PASSWD=db_dev  # Required, the value should be root's password of MySQL service.
      - TIME_ZONE=Etc/UTC  # Optional, default is UTC. Should be uncomment and set to your local time zone.
      - SEAFILE_ADMIN_EMAIL=me@example.com # Specifies Seafile admin user, default is 'me@example.com'.
      - SEAFILE_ADMIN_PASSWORD=asecret     # Specifies Seafile admin password, default is 'asecret'.
      - SEAFILE_SERVER_LETSENCRYPT=false   # Whether to use https or not.
      - SEAFILE_SERVER_HOSTNAME=docs.seafile.com # Specifies your host name if https is enabled.
    depends_on:
      - db
      - memcached
    networks:
      - seafile-net

networks:
  seafile-net:
Update SEAFILE_SERVER_LETSENCRYPT to true, and change the other fields (shown below) as well, to reflect your real domain name and contact email (needed when registering for a Let’s Encrypt certificate):
- SEAFILE_ADMIN_EMAIL=me@example.com # Specifies Seafile admin user, default is 'me@example.com'.
- SEAFILE_ADMIN_PASSWORD=asecret     # Specifies Seafile admin password, default is 'asecret'.
- SEAFILE_SERVER_LETSENCRYPT=false   # Whether to use https or not.
- SEAFILE_SERVER_HOSTNAME=docs.seafile.com # Specifies your host name if https is enabled.
Also, make sure to uncomment the 443:443 under ports:
      - "80:80"
#     - "443:443"  # If https is enabled, cancel the comment.
That second line should not be commented out if you plan to use SSL. It is probably also a good idea to change the MySQL root password to something else. Look for the two places where db_dev (the default root password) appear, and change them to something of your choosing.
Starting seafile Link to heading
From the directory where docker-compose.yml lives, run:
docker compose up -d
This should start up Seafile and request a Let’s Encrypt certificate. Give it a minute, then visit your site at https://seafile.mysite.com (or whatever URL you added to docker-compose.yml). You should see a login screen like this:
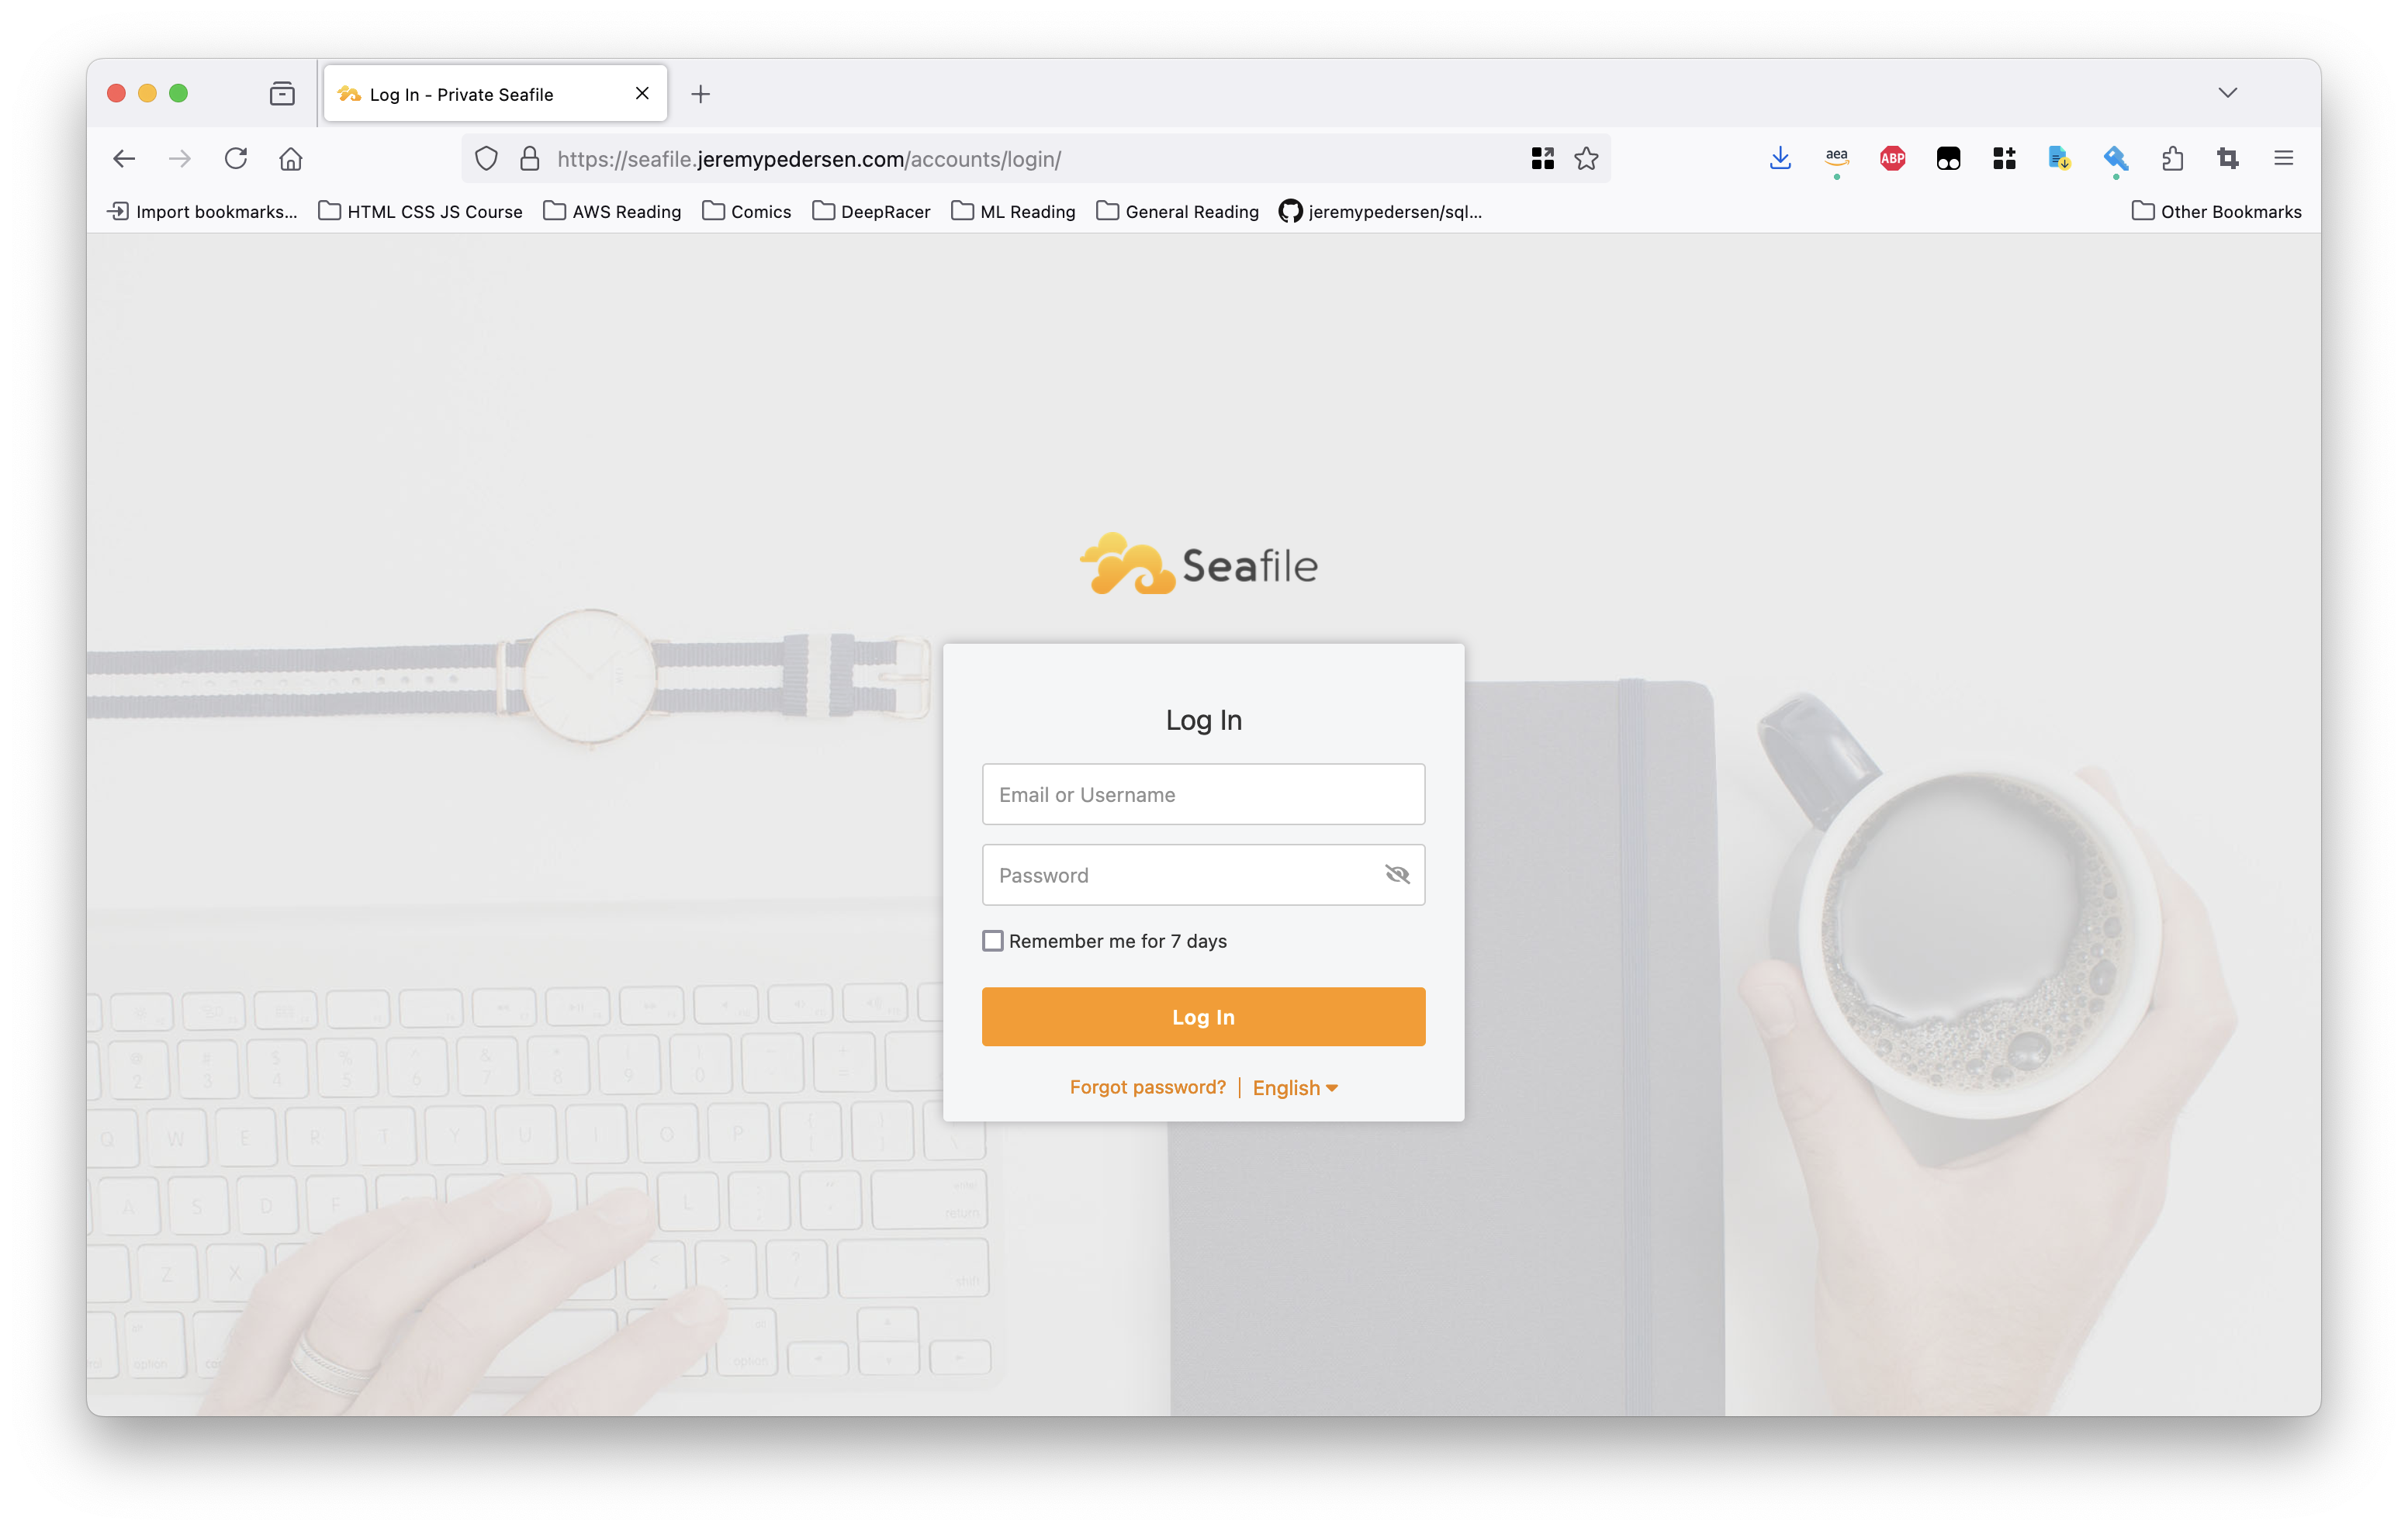
Use the email and password from docker-compose.yml to log in. You’re ready to go!
Make sure Seafile runs at boot Link to heading
By default, the containers created by the docker-compose.yml script will not restart when the machine is rebooted. This is probably not the behavior you want (why wouldn’t you want Seafile to be resilient to shutdowns/restarts?), so let’s enable the containers to always restart:
docker update --restart always $(docker ps -q)
Reset the admin password Link to heading
If you ever get locked out and need to reset the admin password, go ahead and execute this command:
docker exec -it seafile /opt/seafile/seafile-server-latest/reset-admin.sh
This will allow you to choose a new email and password.