Note: Instructions here are based on the official ROS and Gazebo documentation.
If you are new to robotics and are planning to get involved as a hobbyist (or maybe take a university course), you’ll quickly discover that open source robotics is dominated by two tools:
- Gazebo, a simulator for creating virtual environments in which to test how your robots will interact with their environment
- ROS, the “robot operating system”, a tool for connecting sensors, motors, and other robot components into a cohesive, functioning system
These tools have the benefit of being very popular, so lots of resources are available online. One major pain point for new users, however, is that these projects are developed independently, meaning they are released on their own schedules and not all versions of ROS work with all versions of Gazebo.
Luckily, the Gazebo documentation includes a guide to understanding which versions of ROS work with which versions of Gazebo.
At present, the Gazebo docs recommend the following combination for new users, so that’s what I’ll cover in today’s blog post:
Installing Gazebo Link to heading
The steps below are based on this install guide
We start by installing some prerequisites and adding the Gazebo packages to Ubuntu’s package manager.
sudo apt-get update
sudo apt-get install -y lsb-release wget gnupg
Next, we install Gazebo Fortress (the version recommended for use with ROS2 Humble Hawksbill):
sudo wget https://packages.osrfoundation.org/gazebo.gpg -O /usr/share/keyrings/pkgs-osrf-archive-keyring.gpg
echo "deb [arch=$(dpkg --print-architecture) signed-by=/usr/share/keyrings/pkgs-osrf-archive-keyring.gpg] http://packages.osrfoundation.org/gazebo/ubuntu-stable $(lsb_release -cs) main" | sudo tee /etc/apt/sources.list.d/gazebo-stable.list > /dev/null
sudo apt-get update
sudo apt-get install ignition-fortress
Note: You may have to run the commands above one-by-one. I had issues copying and pasting them to run as a single block.
Testing Gazebo Link to heading
We can make sure Gazebo is working by running the default simulated environment, “shapes”:
ign gazebo shapes.sdf
If all is well, the Gazebo GUI will load up and display a neat array of brightly colored 3D shapes:
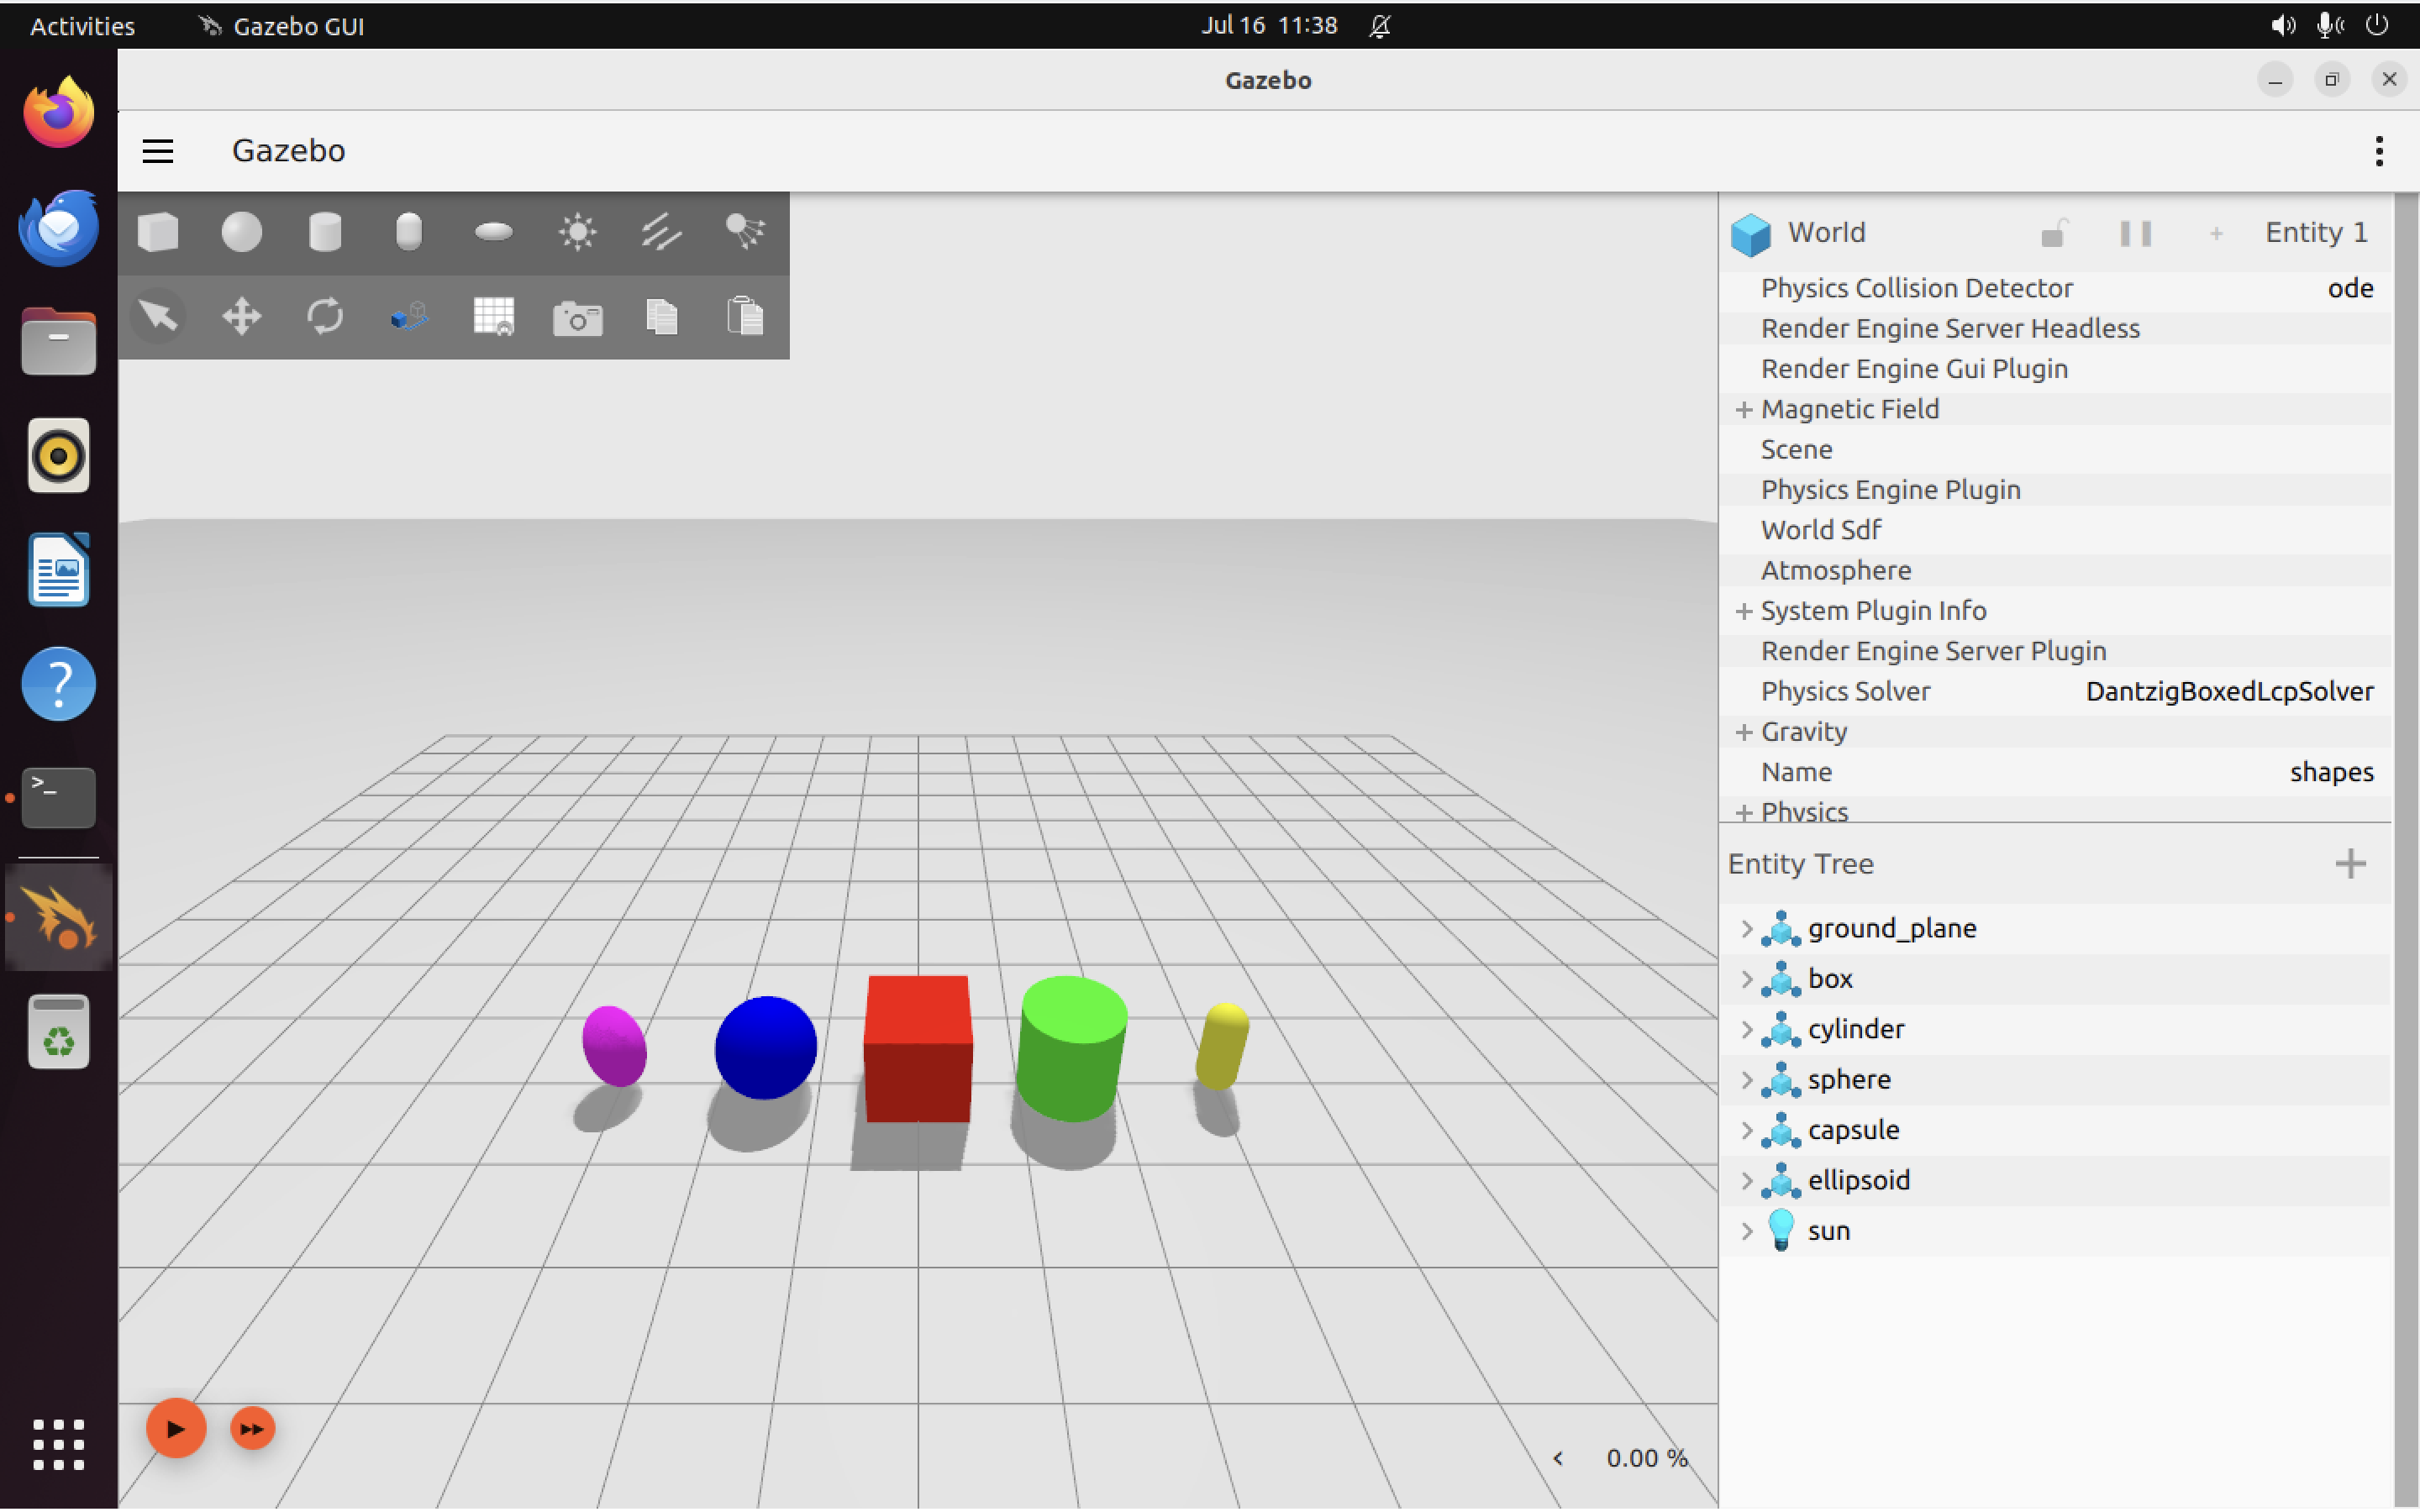
Great! We can now move on to installing ROS.
Installing ROS2 Link to heading
The steps below are based on this install guide
With Gazebo installed, we now need to install ROS2 Humble Hawksbill (the version of ROS2 recommended for use with Gazebo Fortress).
First, we need to fiddle with Ubuntu’s locale settings a little bit. ROS 2 prefers a UTF-8 locale.
sudo apt update && sudo apt install locales
sudo locale-gen en_US en_US.UTF-8
sudo update-locale LC_ALL=en_US.UTF-8 LANG=en_US.UTF-8
export LANG=en_US.UTF-8
Note: Once again I had a hard time getting these commands to run as a group. You may have to run them one-by-one.
Install necessary prerequisites:
sudo apt install software-properties-common
sudo add-apt-repository universe
Add the ROS2 GPG key:
sudo apt update && sudo apt install curl -y
sudo curl -sSL https://raw.githubusercontent.com/ros/rosdistro/master/ros.key -o /usr/share/keyrings/ros-archive-keyring.gpg
Add the repo to sources.list:
echo "deb [arch=$(dpkg --print-architecture) signed-by=/usr/share/keyrings/ros-archive-keyring.gpg] http://packages.ros.org/ros2/ubuntu $(. /etc/os-release && echo $UBUNTU_CODENAME) main" | sudo tee /etc/apt/sources.list.d/ros2.list > /dev/null
Pull the updated package lists:
sudo apt update
Make sure everything is up to date:
sudo apt upgrade
Next, let’s install ROS Desktop, which includes packages like RViz, which we will use to visualize the outputs from sensors like cameras and LIDAR:
sudo apt install ros-humble-desktop
We should also fetch tools for building ROS packages, just in case (although hopefully we won’t need these):
sudo apt install ros-dev-tools
Set up the environment Link to heading
Whenever we want to use ROS, we will need to ensure our environment is set up properly, by running the following command:
source /opt/ros/humble/setup.bash
Testing ROS Link to heading
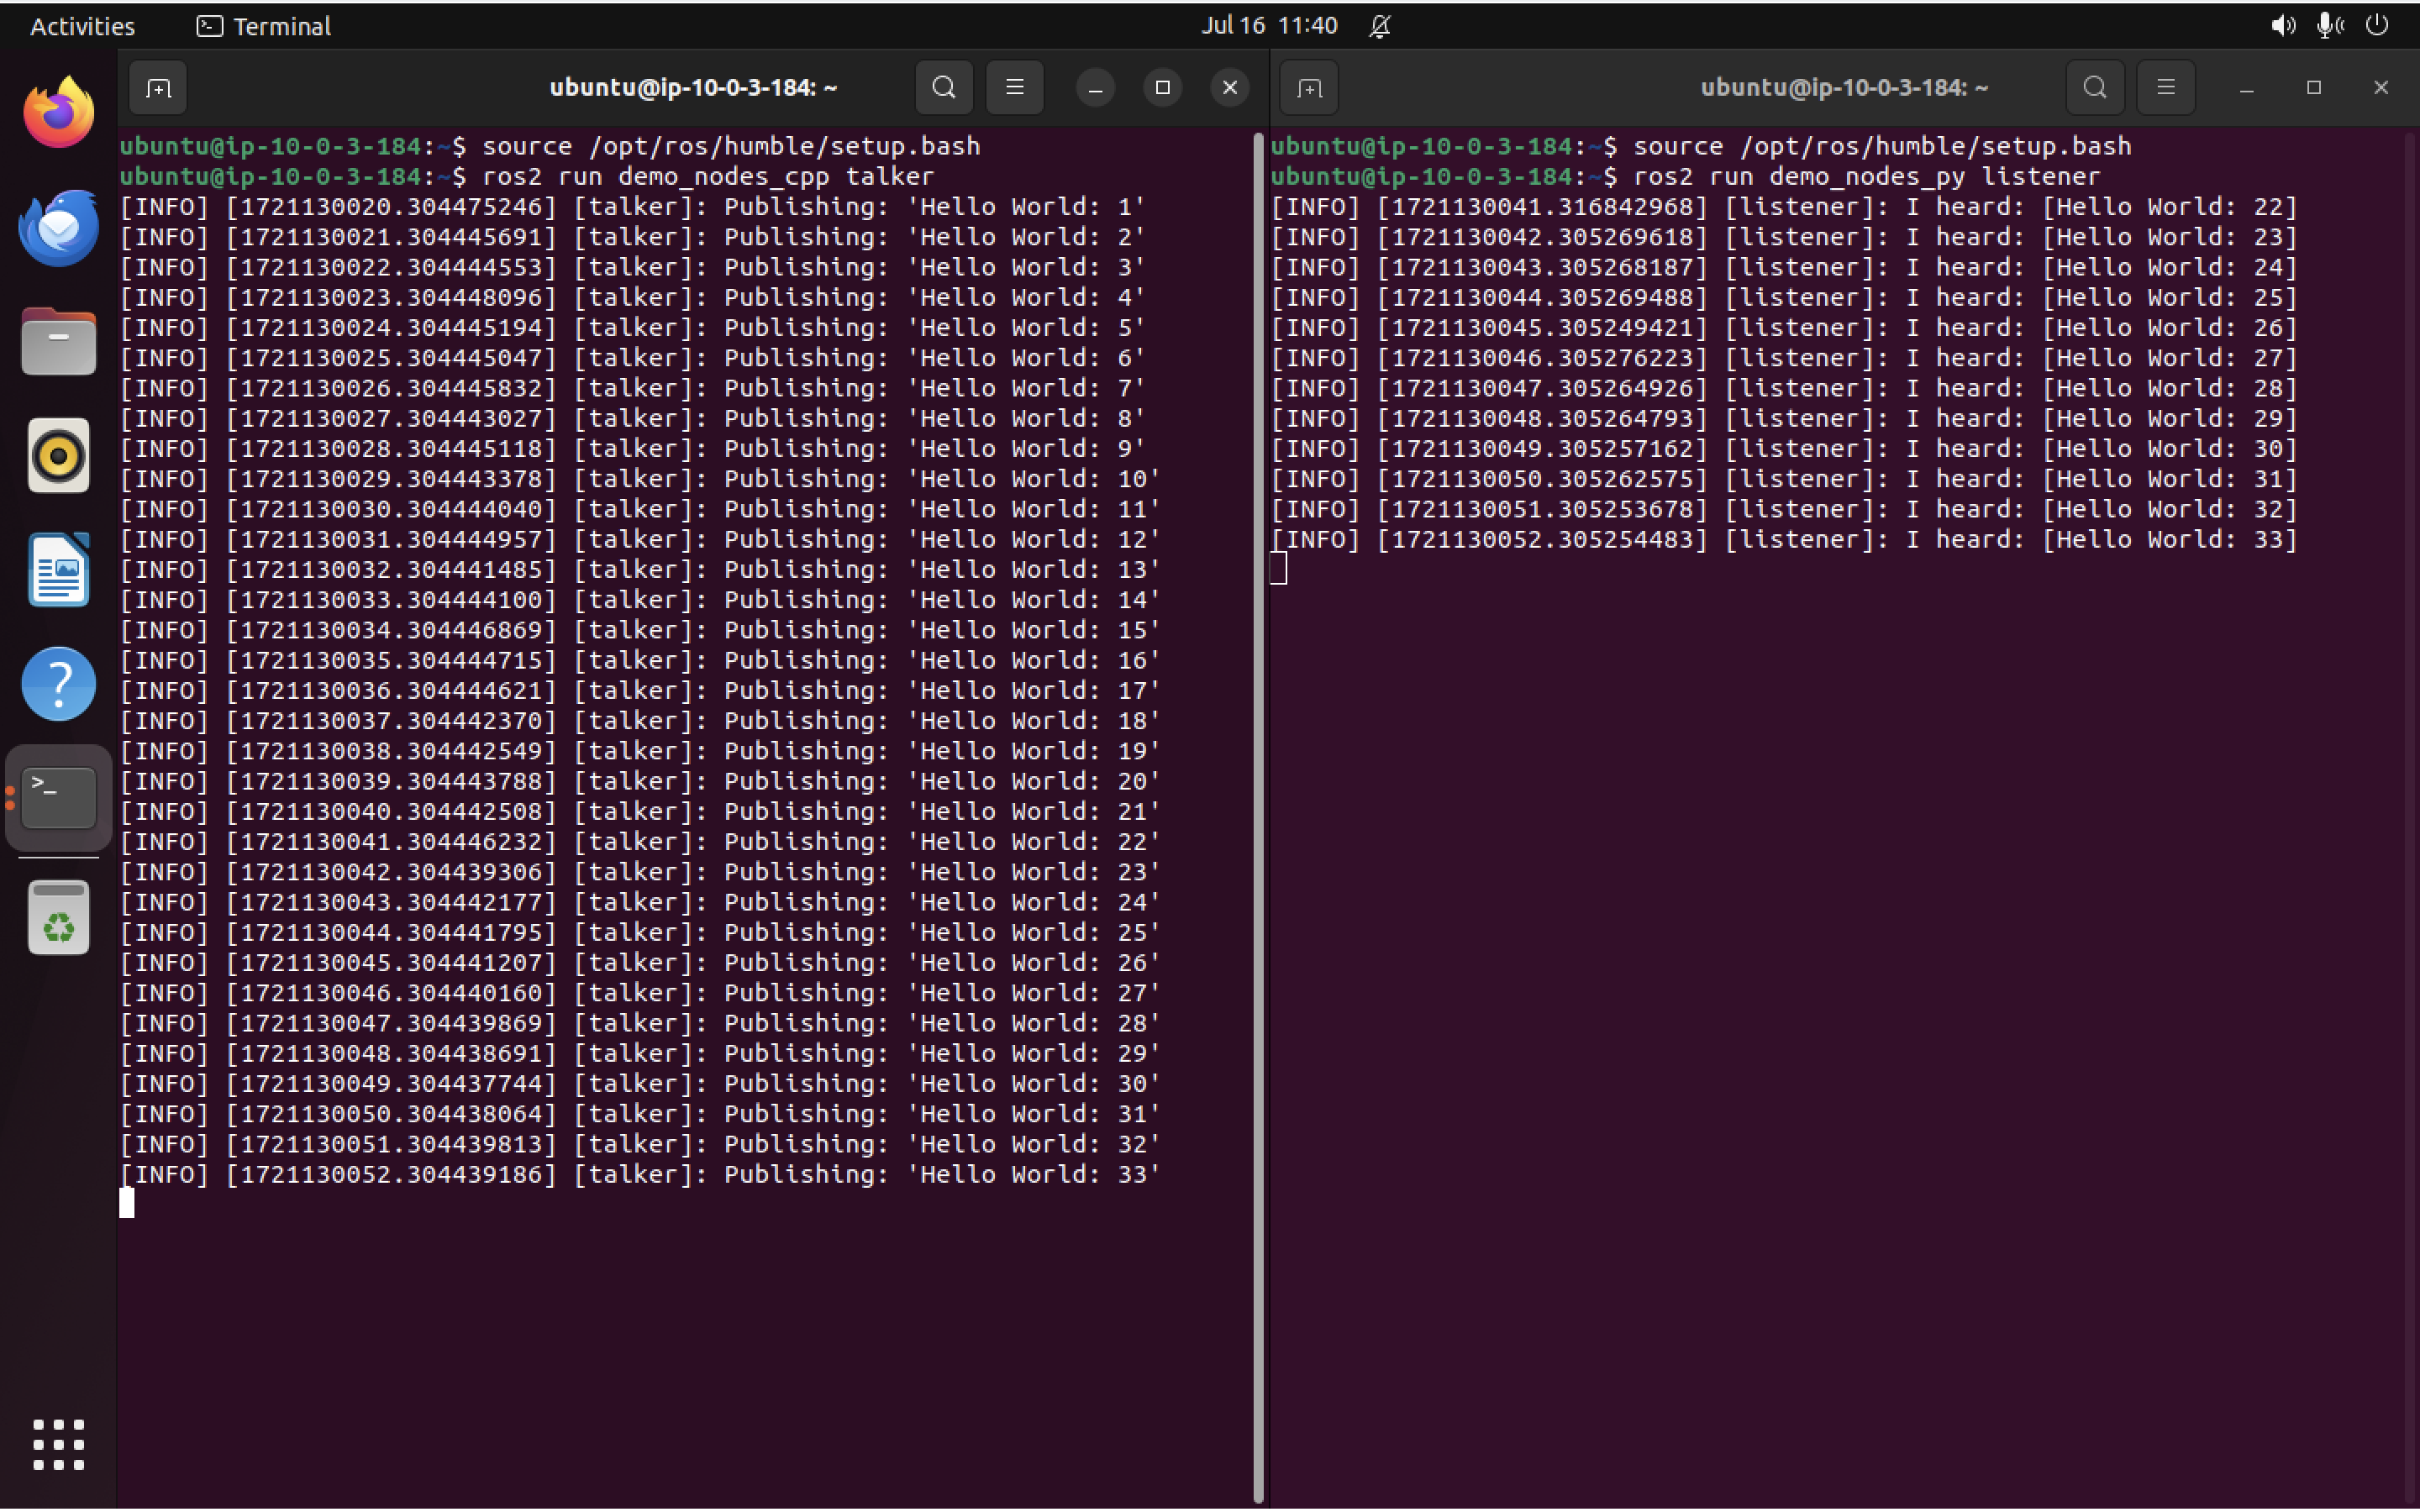
Open two new terminal windows from the Ubuntu desktop.
In the first window, execute these commands to set up a “talker” (to send ROS messages):
source /opt/ros/humble/setup.bash
ros2 run demo_nodes_cpp talker
In the second window, execute these commands to set up a “listener” (to receive ROS messages):
source /opt/ros/humble/setup.bash
ros2 run demo_nodes_py listener
If all is working as it should, you should see the “talker” sending messages, and the “listener” receiving them like this:
Next Steps Link to heading
Great! Now ROS is set up. You can get started with the ROS (Humble) tutorials to learn more about ROS, and the Gazebo (Fortress) tutorials to learn more about Gazebo.
A word of warning for newbies (like me): The tutorials for both ROS and Gazebo are versioned. Make sure any tutorials you read through are for the versions of ROS and Gazebo you have installed.
We have installed ROS2 Humble Hawksbill, so when reading ROS tutorials, make sure you see a “Humble Hawksbill” logo in the upper lefthand corner of the page.
Similarly, when looking at the Gazebo tutorial pages, make sure the banner at the top of the page (left hand side) shows “Docs / Gazebo Fortress”, which indicates the document in question is for Gazebo Fortress specifically.
This is important, because there are significant differences between different versions of ROS and Gazebo! Don’t get confused. ^_^