Note: This is part of a series where I follow along with the ROS 2 Humble and Gazebo Fortress tutorials and demos. This is not original content.
Welcome back! We’re continuing to follow along with the docs today, this time focusing on creating a workspace. Let’s get started.
What is a workspace? Link to heading
We covered this (briefly) in yesterday’s post. Basically, a workspace is a directory that contains ROS 2 packages. Typically there is a base set of ROS 2 packages you rely on, called the underlay, which you’ll source into your environment first. Your workspace is then added on top of this, as an overlay.
So, to create a basic ROS 2 underlay I would run:
source /opt/ros/humble/setup.bash
I have now readied my underlay.
Then I would move to my own workspace directory, for instance ros2_ws, and run:
source install/setup.bash
Now my overlay is ready.
A couple notes:
- Your underlay must contain all of the dependencies of your overlay.
- If you have packages in your overlay that are named the same as packages in your underlay, they will override the packages in your underlay.
- It’s possible to have several layers of overlays and underlays. Each successive overlay uses the packages of its parent underlays.
Setting up our workspace Link to heading
If you have leftover workspaces from yesterday’s tutorial, go ahead and delete those. Some of the steps we will carry out today will be very similar, so it’s best to start fresh to avoid confusion. In my case, from my home directory I need to run:
rm -rf myfirstpackage
rm -rf ros2_ws
Warning: Adjust the two rm commands above to fit your own environment and situation.
Awesome! Also, don’t forget to source your underlay (you can skip this step if you’ve already added this line to your .bashrc file):
source /opt/ros/humble/setup.bash
Next, create a new directory to hold the new workspace:
mkdir -p ~/ros2_ws/src
cd ~/ros2_ws/src
Note: It’s a best-practice to put your packages into the src directory, so we’ll stick to that convention.
Clone a sample repo Link to heading
We need some packages to work with (we won’t build our own), so let’s pull those from GitHub:
git clone https://github.com/ros/ros_tutorials.git -b humble
Note: You should make sure you’re in your ros2_ws/src directory when exectuing the command above.
That’s right…we’ll be using ros_tutorials, which includes turtlesim. ^_^
You’ll notice when we start our build that packages other than turtlesim are not built. This is because they include a special flag, COLCON_IGNORE, which excludes them from the build.
Resolve dependencies Link to heading
Although we probably have all the dependencies we need installed already (they would have been installed alongside the rest of the ROS 2 base packages), it’s always a good idea to double check. To do this, run rosdep from the root of your workspace (the ros2_ws folder):
cd ..
rosdep install -i --from-path src --rosdistro humble -y
If you have all the dependencies already installed, you’ll see a message like:
#All required rosdeps installed successfully
Note: Packages declare their dependencies in a package.xml file, which is covered in detail in the Create a package tutorial in the official docs. We’ll walk through that tutorial in a future blog post.
Build the workspace Link to heading
Now, we need to build our workspace. From ros2_ws run:
colcon build
This may take a while to finish and will print a lot of warning messages to the console. A the very end of the process, colcon build will print out something like this:
[0.437s] WARNING:colcon.colcon_core.package_selection:Some selected packages are already built in one or more underlay workspaces:
	'turtlesim' is in: /opt/ros/humble
If a package in a merged underlay workspace is overridden and it installs headers, then all packages in the overlay must sort their include directories by workspace order. Failure to do so may result in build failures or undefined behavior at run time.
If the overridden package is used by another package in any underlay, then the overriding package in the overlay must be API and ABI compatible or undefined behavior at run time may occur.

If you understand the risks and want to override a package anyways, add the following to the command line:
	--allow-overriding turtlesim

This may be promoted to an error in a future release of colcon-override-check.
Starting >>> turtlesim
[Processing: turtlesim]
Finished <<< turtlesim [47.0s]

Summary: 1 package finished [47.4s]
This indicates that the build has finished successfully.
**Here are a couple of useful flags you can add to colcon build stolen directoy from the docs:
Other useful arguments for colcon build:
--packages-up-tobuilds the package you want, plus all its dependencies, but not the whole workspace (saves time)
--symlink-installsaves you from having to rebuild every time you tweak python scripts
--event-handlers console_direct+shows console output while building (can otherwise be found in thelogdirectory)
--executor sequentialprocesses the packages one by one instead of using parallelism
Running ls -1 from ros2_ws, we now see:
build
install
log
src
The setup files for our workspace will be located in install. We will source those when we want to use your workspace as an overlay
Sourcing the underlay and overlay Link to heading
First, we source our underlay:
source /opt/ros/humble/setup.bash`
This adds all the base ROS 2 packages to our environment. Now, we add our ros2_ws workspace with (assuming we aren’t in the ros2_ws directory yet):
cd ~/ros2_ws
And then:
source install/local_setup.bash
Note: We did not source setup.bash, rather we sourced local_setup.bash. This ensures that we only add packages available in the overlay to our environment.
**If we had run source install/setup.bash this would have automatically sourced both the underlay and the overlay, meaning we would not need to run source /opt/ros/humble/setup.bash as a separate step. Just keep that in mind.
We should now be able to run packages from the overlay:
ros2 run turtlesim turtlesim_node
Which will open a turtlesim window:
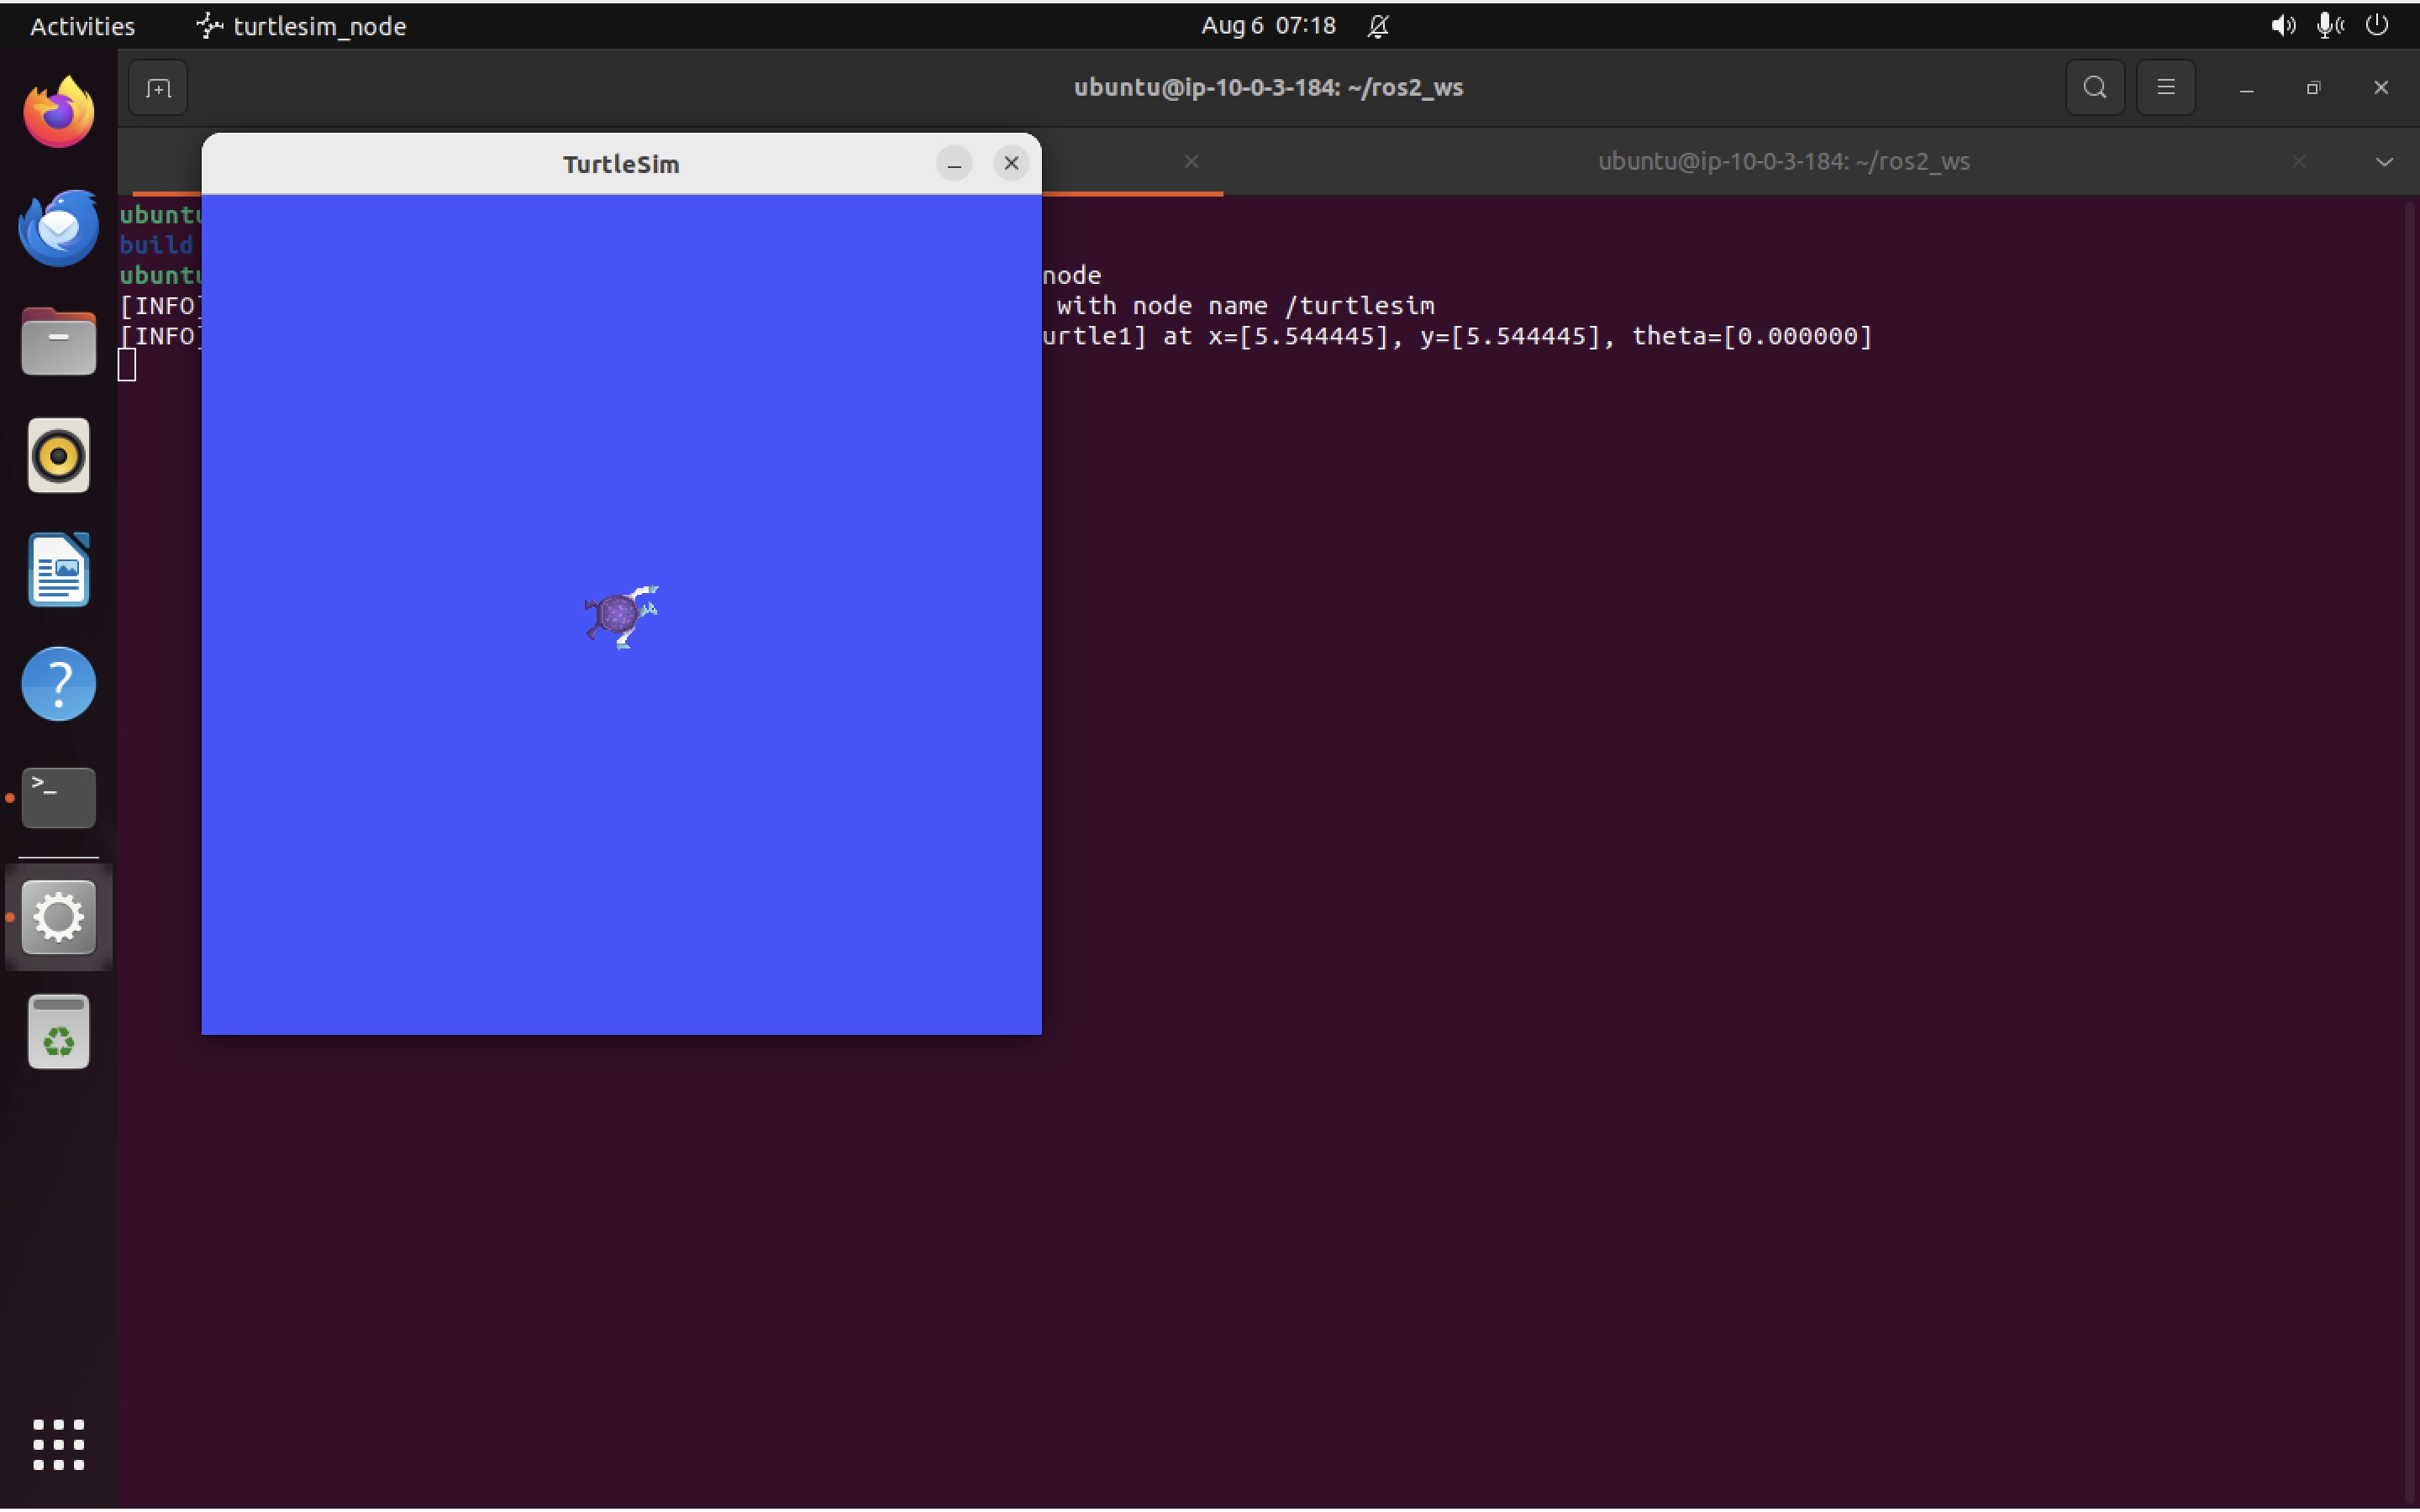
Of course, right now we have no way to tell if we are really running the turtlesim package we just built or the one that’s part of the base install in /opt/ros/humble, because they are identical.
Making changes to the overlay (and rebuilding our package) Link to heading
Let’s make some changes so we can tell that this is really our version of turtlesim.
We’ll make a minor change (update the title bar in the turtlesim window). Here’s how:
- Open
~/ros2_ws/src/ros_tutorials/turtlesim/src - Locate the line
setWindowTitle("Turtlesim");(on line 52, as I’m writing this) - Change the text in quotes from
"TurtleSim"to"MyTurtleSim"or something similar
Now, re-run the build:
colcon build
And re-launch turtlesim:
ros2 run turtlesim turtlesim_node
You should see your changes take effect:

Note: If your title bar does not update, you may need to run source again, with: source install/setup.bash which will re-source both the underlay and the overlay.
If we opened a new terminal and ran source /opt/ros/humble/setup.bash and then ran ros2 run turtlesim turtlesim_node again, we would go back to using the original turtlesim_node that’s part of the base ROS install. This is the behavior we want: each ROS workspace should be isolated from other workspaces. This allows us to build multiple (potentially conflicting) versions of a package and work with them separately.
Awesome! In our next post we’ll learn how to create our own packages, again following along with the official tutorial.